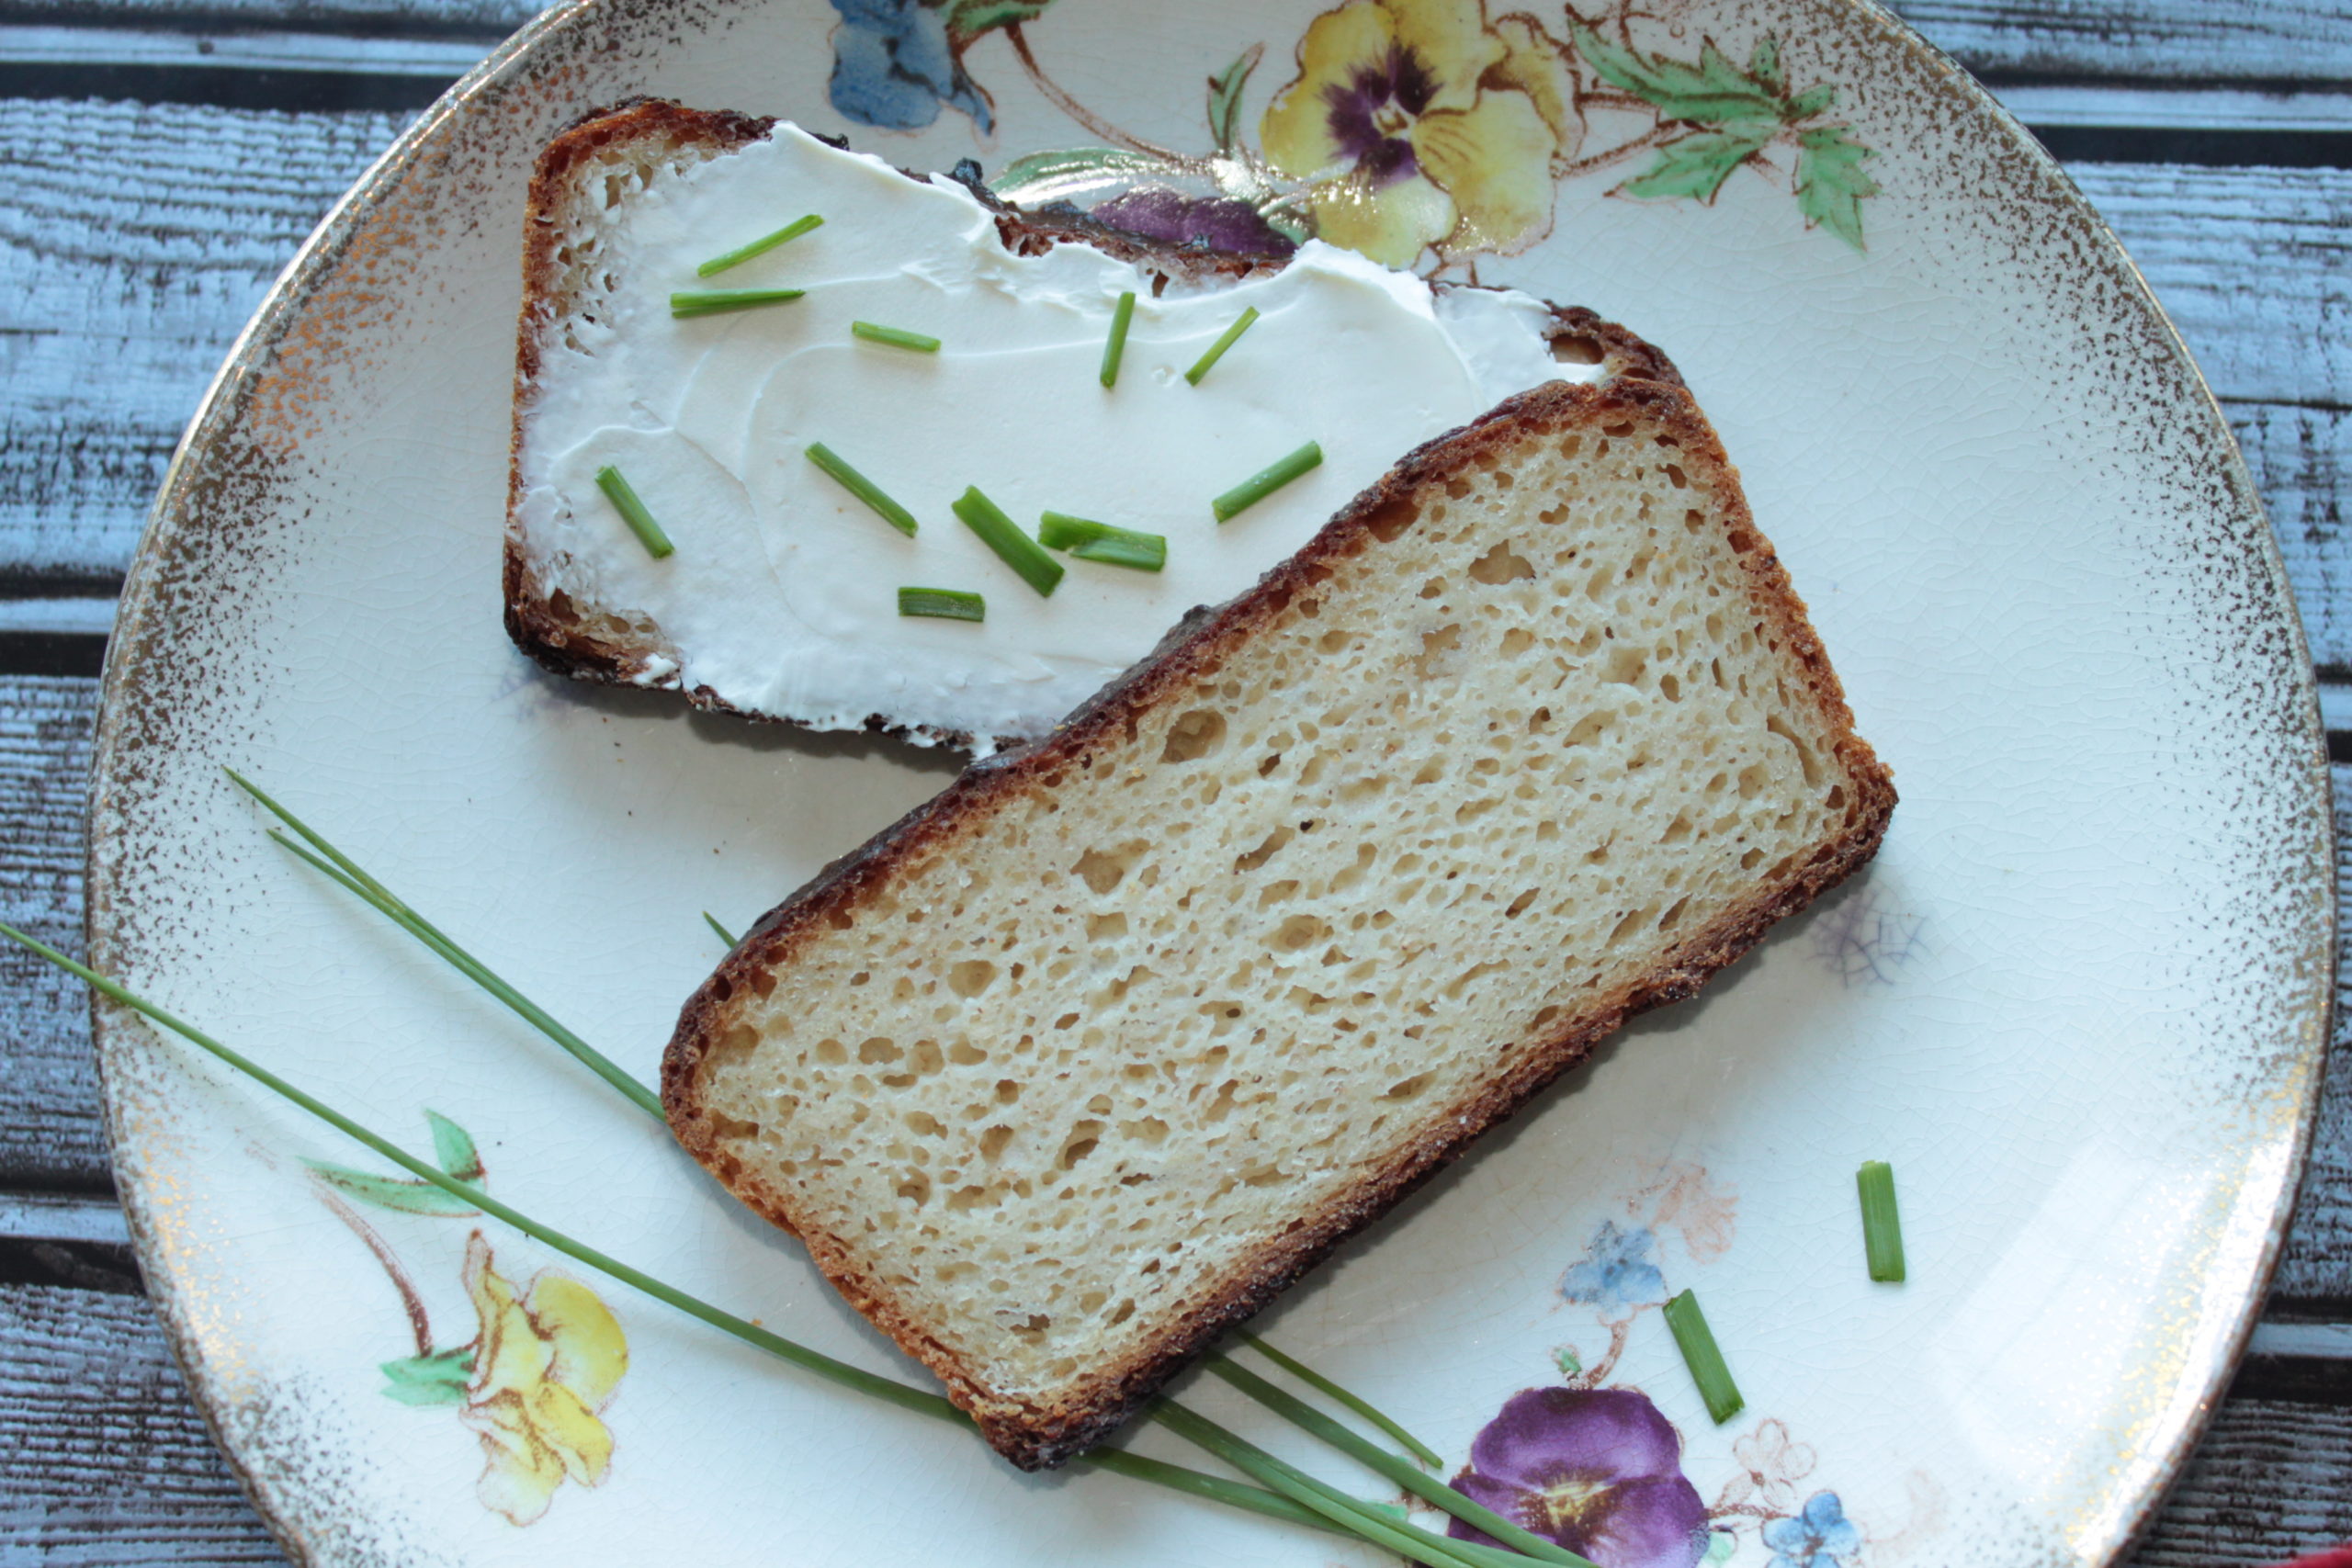
This gluten free sourdough bread is moist and earthy. It is rich in flavor, holds together really well for sandwiches, and can be stored in the freezer for an extended period of time.
Ingredients:
- 2 tablespoons golden flax seed powder
- 3 tablespoons water (to activate the flax seed powder)
- 1 cup fed Gluten Free Sourdough Starter
- 2 ¼ cups brown rice flour
- 1 ¼ cups water
- 2 teaspoons xanthan gum
- 2 teaspoons salt
- 1 tablespoon sesame seeds
- ½ tablespoon poppy seeds
- 3 tablespoons brown sugar
- 2 tablespoons olive oil
Utensils
- Large rectangular or oval Dutch oven
- Standup mixer or hand mixer with paddle attachment
- Measuring cups
- Measuring spoons
- Spatula
- Loaf pan
- Plastic wrap
- Teakettle
- Thick oven proof mittens
Directions
It took me several trials to develop this recipe. The first time I attempted to create a sourdough bread recipe, I ended up with a brick. an edible brick, but it still was a brick. however, I did not give up. I kept trying until I developed a recipe that I felt confident enough that I could share with you.
my goal as I was developing this recipe was to create a gluten free sourdough bread that was full of bubbles, light, and not sticky.
This bread is full of bubbles, it is moist, but not sticky, and it is not super dense. I still feel that I can make some improvements on it, but it still has great texture and flavor.
I would like to in the future come up with a super airy sourdough gluten free bread that resembles wheat bread. that is still yet to happen, but I sure am working on it.
This recipe is super simple and easy, but it does require a few equipment to have on hand, and one main ingredient whih is gluten free sourdough starter.
If you do not have a gluten free sourdough starter yet, you can follow my instructions on how to make your own Gluten Free Sourdough Starter
Before we begin, it is also important to know that the thickness of your sourdough starter will impact the texture and the stickiness of the final product. Make sure to adjust the amount of sourdough starter and liquid ratio according to how runny or thick your sourdough starter is. My sourdough starter is usually the thickness of pancake batter.
It is also important to note that the type of grains that you are using in your sourdough starter will impact the texture of the bread as well.

Before you begin to make this bread, make sure that your sourdough starter is well fed and has been sitting at room temperature for at least an hour.
If you live in a warm climate, your sourdough starter might reach room temperature pretty quickly, and it might consume the sugars after you feed it fairly quickly as well. A Hungry sourdough is usually very runny.
Always remember that a sourdough starter is a living organism which means that it needs to eat as well, and if it is not fed properly, it can die.
I prefer to use my stand-up mixer for this bread, as I find that beating the bread on high speed for an extended period of time introduces more air bubbles into the bread.
Place the flax seed powder and the 3 tablespoons water into the bowl of a standup mixer or into a large bowl. Mix well together.
Add in the brown rice flour, salt, sugar, xanthan gum, sesame seeds, and poppy seeds, then add in the sourdough starter, olive oil, and water.
Begin mixing on low until the dry ingredients are combined with the wet, then mix on high for 10 minutes.
Butter a loaf pan and scrape the dough into the loaf pan. Even out the dough at the top and the sides of the loaf pan to form the shape of a loaf.
Cover the loaf pan with some plastic wrap and allow the dough to rise until it reaches the top of the loaf pan.
Boil some water in a tea kettle. Add the boiling water to the bottom of the Dutch oven. Place the Dutch oven and the lid separately in the oven on the middle rack. Preheat the oven to 450 F.

Once the oven is preheated, carefully lift the Dutch oven out of the oven and on to the stove. Uncover the bread, and using oven mittens, carefully place the loaf pan into the preheated Dutch oven which contains the boiling water. Cover the Dutch oven with its preheated lid, and transfer back into the oven placing it on the middle rack.
Allow the bread to bake while covered for 60 minutes. After the 60 minutes have passed, carefully uncover the bread and make sure there is no excess water left in the Dutch oven.
If there is excess water in the Dutch oven, remove it from the oven onto the stove or a heat insulated surface. Remove the loaf pan out of the Dutch oven, empty the water out, and transfer the loaf pan back into the Dutch oven.
Place the Dutch oven, uncovered, back into the oven, and bake the bread for 40 minutes.
If you want the bread to have a softer crust, you can bake it while it is covered for a longer period of time, uncover it and bake it for 10 to 20 minutes.
Allow the bread to cool completely before you slice into it.
If you do not have an oval or rectangular Dutch oven that is large enough to fit a loaf pan inside it, you can use a loaf pan and another pan filled with boiling water to steam the bread while it is baking for the first 60 minutes placing the steaming pan onto the bottom rack right under the loaf pan which will be on the middle rack. I have never tried to do it this way yet, so I cannot share with you the results of following this method.
You might need to bake it for a less period of time if you are not using a dutch oven, but I cannot be sure of that until I try it.

Gluten Free Homemade Sourdough Bread
Ingredients
Equipment
Method
- Place the flax seed powder and the 3 tablespoons water into the bowl of a standup mixer or into a large bowl. Mix well together.
- Add in the brown rice flour, salt, sugar, xanthan gum, sesame seeds, and poppy seeds, then add in the sourdough starter, olive oil, and water.
- Begin mixing on low until the dry ingredients are combined with the wet, then mix on high for 10 minutes.
- Butter a loaf pan and scrape the dough into the loaf pan. Even out the dough at the top and the sides of the loaf pan to form the shape of a loaf.
- Cover the loaf pan with some plastic wrap and allow the dough to rise until it reaches the top of the loaf pan.
- Boil some water in a tea kettle. Add the boiling water to the bottom of the Dutch oven. Place the Dutch oven and the lid separately in the oven on the middle rack. Preheat the oven to 450 F.
- Once the oven is preheated, carefully lift the Dutch oven out of the oven and on to the stove. Uncover the bread, and using oven mittens, carefully place the loaf pan into the preheated Dutch oven which contains the boiling water. Cover the Dutch oven with its preheated lid, and transfer back into the oven placing it on the middle rack.
- Allow the bread to bake while covered for 60 minutes. After the 60 minutes have passed, carefully uncover the bread and make sure there is no excess water left in the Dutch oven.
- If there is excess water in the Dutch oven, remove it from the oven onto the stove or a heat insulated surface. Remove the loaf pan out of the Dutch oven, empty the water out, and transfer the loaf pan back into the Dutch oven.
- Place the Dutch oven, uncovered, back into the oven, and bake the bread for 40 minutes.
- If you want the bread to have a softer crust, you can bake it while it is covered for a longer period of time, uncover it and bake it for 10 to 20 minutes.
- Allow the bread to cool completely before you slice into it.
Video
Notes
Disclosure: Some of the links in this post are “affiliate links”. This means if you click on a link and purchase the item, I will get an affiliate commission. It will not cost you any extra money, but it will help me pay for this website, and it will help me to keep providing you with helpful articles such as this one. I only post links to products that I personally use and love, or to products that I wish I could have, and that could be of value to you. The information that I provide you with, my blog, videos, and many resources are free.


Can I use pysillium husk powder instead of flax seed?
Hi Donna, great question! I don’t see why not. The texture might be slightly different, but who knows, you might like it even better. The ratio for psyllium husk powder however, is not the same to flax. So I would add ONE tablespoon of psyllium husk instead of two.