Gluten Free Sourdough Bread Rolls
I grew up eating these dinner rolls minus the sourdough. I knew them as “paint au lait” French for “milk bread”. They were my favorite kind of bread rolls. Sweet, soft, buttery and delicious. For that reason, I tried my best to make a gluten free version of this recipe. Using sourdough of course, makes it all the best. I can’t express enough how comforting and rewarding this recipe is. You’ll have to try it yourself to know what I’m talking about.
Ingredients:
- brown rice flour
- Fed sourdough starter. Always use fed sourdough starter in any of the sourdough recipes, unless I specifically say otherwise. If you do not have gluten free sourdough checkout the How To Make Gluten Free Sourdough Starter recipe.
- salt
- sugar
- vanilla extract
- baking powder
- baking soda
- milk, lukewarm. You can use any type of milk you want.
- melted butter, plus extra butter for buttering the pan. You can also use coconut butter, or coconut oil instead of traditional butter.
- eggs. If you want to make this recipe vegan, you can use a 1/4 cup of apple sauce to replace 1 egg. Just keep in mind that apple sauce is sweet, so you may need to reduce the amount of sugar that is present in the recipe to suit your liking.
- xanthan gum
- coconut flour
Utensils
- Measuring cups
- Measuring spoons
- Jumbo muffin pan
- Medium bowl
- Small bowl
- Ladle
- Whisk
- Rubber spatula
- Shrink wrap
Directions
Even though these are dinner rolls, preparing them will not be as the traditional wheat dinner rolls.
There will be no dough here in making these gluten free bread rolls, just a batter. This batter will be very similar to a pancake batter.

We will need to mix in the dry ingredients first, but we will need to leave out the baking powder and baking soda. We will not be needing them yet.
Mixing in the dry ingredients will help incorporate everything together.
Xanthan gum will clump up as soon as water touches it, that’s why it’s important to mix it in with the dry ingredients before you add in any liquid.
Once the dry ingredients are mixed in, you can now add in the wet ingredients.

It doesn’t really matter which order you add in the wet ingredients in. With that said, I do like to add in the butter in at the end after mixing in the wet ingredients with the dry. This gives me reassurance that the butter will not cook the eggs since everything is already mixed in.

Once you add in the butter, whisk vigorously to prevent the batter from getting cooked, and to prevent any clumping.
You will now need to let the batter ferment for a couple hours or more. I like to prepare the batter the night before, and bake it the next morning. This way, the batter has enough time to ferment.
The fermentation process will give the buns more lift as they bake, and it will make them healthier.

Using a rubber spatula scrape in the batter into the center of the bowl, and cover with some shrink warp.

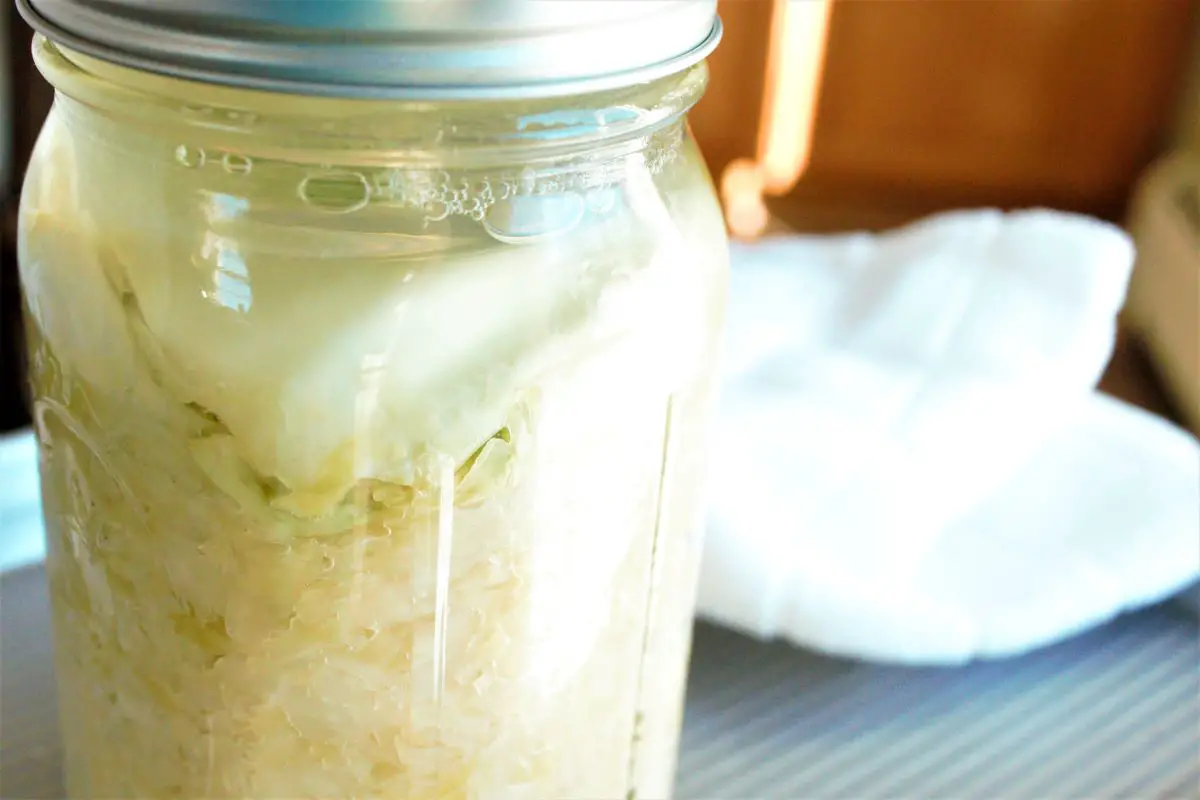
You will be able to tell that the batter is well fermented from the bubbles that will appear on the surface of the batter, and in the batter as well.
now it is time to preheat the oven to 350 F.

While the oven is preheating, sprinkle in the baking soda, and baking powder on the batter, and whisk it in until well incorporated.

I am using here a jumbo muffin pan to bake the gluten free bread rolls in, but if you want them to look more like dinner rolls, you can get a special pan that will give them that shape.
I am not really after the shape here, although it would be nice to have them look like buns. What I am after here is the taste. I want to get that taste of French milk bread that I grew up on. And I feel that the taste of these buns is pretty similar to that of “Paint Au Lait”.
You’ll need to butter the pan before you pour in the batter.
Pour in the batter three quarter of the way full in each muffin cup.
Do not overfill the muffins cups because the batter might spill out as the rolls rise in the oven while they bake.
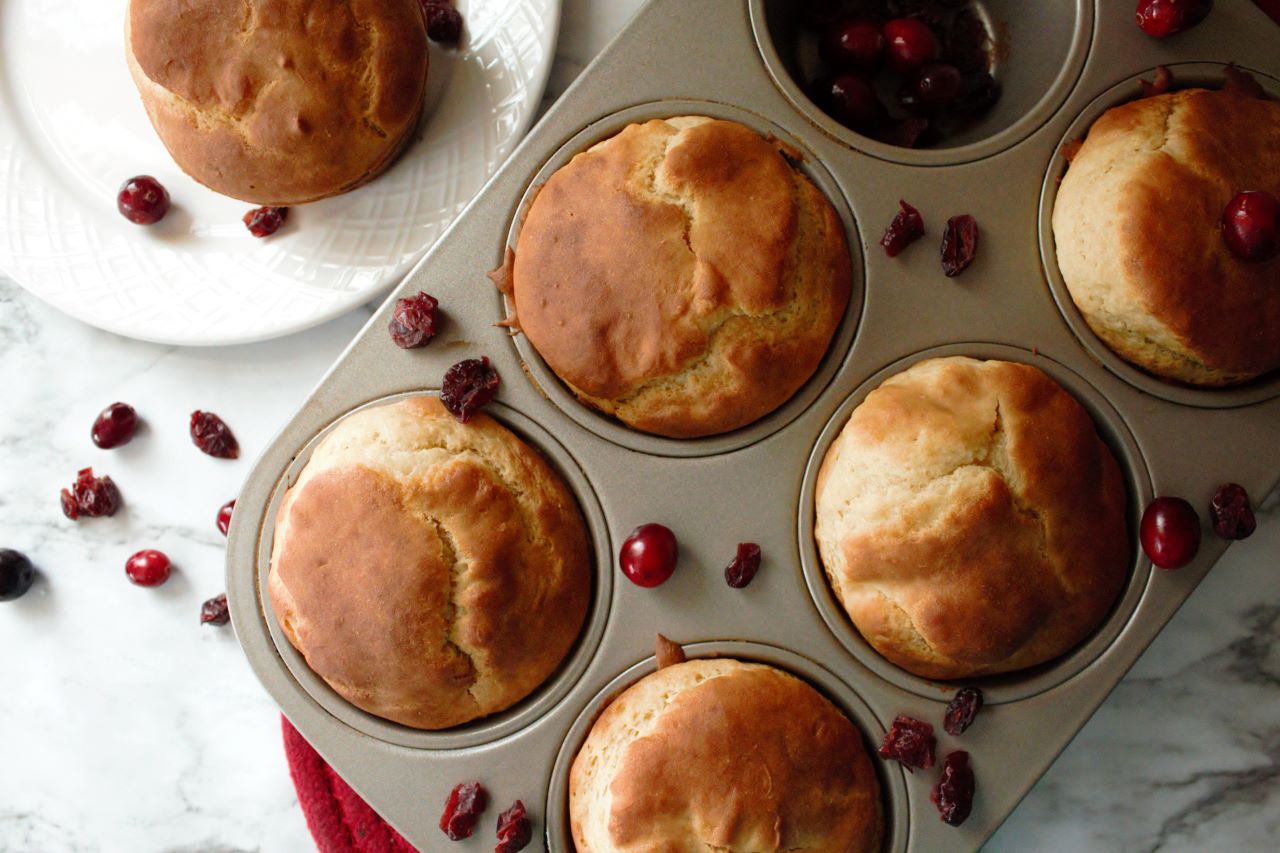
Place the pan onto the center rack of the preheated oven, and allow the rolls to bake for 20 to 25 minutes. They should look golden brown when they are done, and when you insert a toothpick into them, it should come out clean.

Once the rolls are out of the oven, allow them to sit in the pan for a few minutes before taking them out. You can then allow them to cool completely on a cooling rack.
Personally I like to eat these bread rolls while they are still warm. I cut them in half, and slather some raspberry or strawberry preserve, and butter onto them. Yum! delicious!
These bread rolls are a favorite in our household. Everyone enjoys them, and usually they are gone in seconds.
If you like this recipe, you might also like
The Fluffiest Gluten Free Sourdough Pancakes
Gluten Free Homemade Sourdough Bread
Gluten Free Sourdough Pizza Crust

Gluten Free Sourdough Bread Rolls
Ingredients
Equipment
Method
- In a medium bowl, add in the rice flour, salt, sugar, xanthan gum, and coconut flour. Mix until everything is well combined.
- Add in the sourdough starter, milk, eggs, and vanilla extract. Mix using a whisk until everything is well combined.
- Pour in the butter and whisk vigorously until well incorporated.
- Allow the mixture to ferment for 2 hours or overnight.
- After the mixture has fermented and you begin to see bubbles forming on the surface, preheat an oven to 350 F.
- Butter a jumbo muffin pan to prevent the rolls from sticking to the pan.
- Sprinkle in the baking powder and baking soda. Whisk until well incorporated.
- Using a ladle, pour this mixture into the buttered muffin cups, three quarter of the way full.
- Bake on center rack for 20 to 25 minutes, or until golden brown, and a toothpick inserted in the center comes out clean.
- Allow the bread rolls to cool a slightly before taking it out of the pan.
- You can allow the bread rolls to cool on a cooling rack, or you can serve it warm with some preserve and butter, honey, or as a side dish.
Notes
Disclosure: Some of the links in this post are “affiliate links”. This means if you click on a link and purchase the item, I will get an affiliate commission. It will not cost you any extra money, but it will help me pay for this website, and it will help me to keep providing you with helpful articles such as this one. I only post links to products that I personally use and love, or to products that I wish I could have, and that could be of value to you. The information that I provide you with, my blog, videos, and many resources are free.


Hello, what can I use instead of coconut flour? These look delicious!
Hi Sharon,
Thank you! You can substitute it with almond flour at a 1:2 ratio. 1 tbsp of coconut flour for 2 tbsps of almond flour.
However, if you have a nut allergy, you can substitute it with rice flour at a 1:3 ratio. 1 tbsp of coconut flour to 3 tbsps of rice flour.
Keep in mind that whatever substitution you decide on, you will have to adjust the amount of liquid accordingly. I hope this helps 🙂
If you ferment overnight is it in the fridge or on the counter? Made these once just letting them be for a few hours and they were amazing. Would love to long ferment though
Hi Jane, I am so glad you loved them! They are a favorite of my family’s. I usually ferment them over the counter. I have never tried fermenting them in the fridge. I haven’t made them in a while due to health issues, but hopefully I will be able to again in the future, and I will try to ferment them in the fridge and see how they turn out!
Do you ferment it in the fridge or on the counter overnight?
Made it once and it was amazing! Did a short ferment on the counter