

Making Lactose Free Yogurt couldn’t get any simpler. Yogurt is one of those super foods that boosts your immune system. Especially homemade yogurt. It is full of probiotics, and since it is homemade, you can add any flavor to it by using jams, preserves, and jellies, or you can keep it plain to use it in cooking. One of my favorite ways to eat yogurt is plain with some salt.
WHY IS HOMEMADE YOGURT BETTER FOR YOU
Homemade yogurt has loads more probiotics than store bought yogurt. In homemade yogurt you can sort of “control”, for a lack of a better word, the amount of probiotics it contains.
The longer the yogurt ferments, the more probiotics you’ll have. You could allow the yogurt to ferment for up to 24 hours. Any longer than that, the yogurt would spoil. Just keep in my mind that the longer it ferments, the quicker it will spoil.
Another benefit of homemade yogurt is that it does not contain any sugars or thickeners. Unlike store bought yogurt whish is loaded with sugars. Don’t get me wrong, sometimes I like the convenience of store bought yogurt, but I try to provide healthy food for my family as much as possible.
In homemade yogurt, you can control the amount of sugar that you put in it. You can even serve it without sugar, or serve it with a healthier form of sugar of your choice.
What Type Of Milk Can I Use to Make Lactose Free Yogurt?
You can also choose the type of milk that you would like to buy. How can you have lactose free yogurt and still buy any milk that you want like grass fed milk for example? It is simple. The milk that you buy doesn’t even have to be lactose free. That’s right, it doesn’t!
You can turn any milk into lactose free milk simply by adding lactase drops to it, and allowing it to sit for 24 hours in the fridge before using it. Make sure to follow the directions on the lactase drops bottle in order to ensure that the milk has become lactose free. Or you can simply buy the store bought lactose free milk.
Another benefit of making homemade yogurt, is that you can make as much as you want. You can make a whole gallon of yogurt if you chose to, which I often do. This will allow you to make delicious lactose free food like Laban Emmo (Mediterranean Yogurt Stew).
CHOOSING THE PROPER CULTURE FOR YOUR LACTOSE FREE YOGURT
No, we are not talking about human culture here, but yogurt culture. There is nothing worse than going to the store and not being able to find what you need or want. Well I suppose I could think of many other things that are worse, but still it is not a pleasurable experience.
The stores are full of dairy free yogurt and dairy free products, but not so much lactose free, yet dairy products.
What they are abundant in – in that section however is lactose free milk. Occasionally I find the rogue plain, lactose free yogurt.
If you are having a hard time finding plain, dairy, lactose free yogurt in your area, the next solution would be to buy a yogurt starter culture for your first time making yogurt.
What I normally do is keep about a cup of lactose free yogurt from my previous homemade yogurt batch stored in the freezer. This way, it is ready for me to use whenever I need to make a fresh batch. I make sure to thaw it before I use it in my new batch of homemade yogurt.

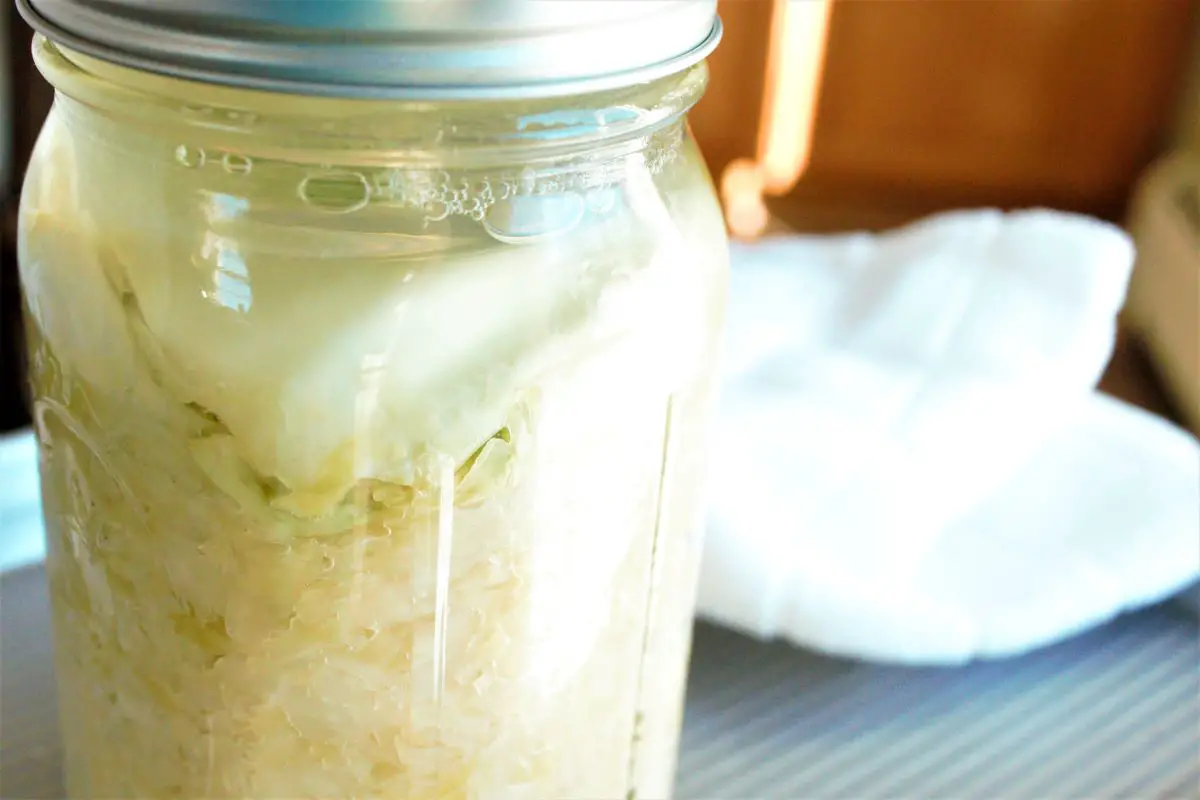
HOW TO MAKE LACTOSE FREE YOGURT WITHOUT A YOGURT MAKER
To make the yogurt, all you need is 1 cup of lactose free yogurt, or yogurt starter culture, and 1 gallon of lactose free dairy milk.
The process is super simple even if you do not have special equipment. I grew up with my mom making fresh goats milk yogurt and Labneh or Greek yogurt as it is called here.
We lived near a farm that was about half an hour walk away from our house. My mom would get the fresh milk, bring it to a boil to kill off any bacteria. She the would remove it off the heat and let it cool until it was warm to the touch but not scolding. Then she would add in a little bit of yogurt, sir it, cover it with a blanket, and leave it on the counter for the next day.
There were no special contraptions, no thermometers, and I can say to this day that it was the best yogurt that I’ve ever tasted.
If my mom didn’t have a little bit of yogurt leftover from the previous batch, she would send me to the neighbors to get her some.
but, if you are super suspicious about this technique, and you want exact measurements and precise temperatures, than you can follow these steps.
How to Make Lactose Free Yogurt Using a Thermometer and a Heating Mat
What you’ll need is a food thermometer, a heating mat, and a towel. Place the lactose free milk into a large pot, put it on medium heat, bring it to a temperature of 180 F, and keep it at this temperature for 10 minutes. Make sure to stir it every now and then in order to prevent scorching.
Remove the milk off the heat and allow it to cool to a temperature of 115 F. Once it’s at that temperature, place it onto the heating mat. You might want to turn the heating mat on a few minutes earlier before placing the pot of milk over it.
Add in the Lactose free yogurt, or yogurt culture, and stir for 30 seconds. Cover the pot, and wrap it with a towel. Allow it to ferment for 5 to 24 hours. The longer it ferments the tangier it will be. So if you want a sweeter, non tangy yogurt allow it to ferment for 5 to 8 hours.
Once the yogurt has fermented, you can then place the fermented yogurt into the fridge to allow it to cool completely.

HOW TO MAKE LACTOSE FREE YOGURT USING A KITCHENAID ATTACHMENT
Place the yogurt into the KitchenAid Precise Heat Mixing Bowl attachment and cover it with its lid. Set the heat to 180 F. Once the pot indicates that it has reached this temperature, uncover it, set the heat to 115F and let it cool until it reaches this temperature.
If you want to speed up the cooling process, you can remove the stainless-steel insert and place it in an ice bath while constantly monitoring the temperature of the milk by using a thermometer.
Once it has reached 115F, dry the bottom of the pot, and insert it back into the KitchenAid attachment.
Add in the lactose free yogurt or yogurt culture, whisk for 30 seconds, keep the temperature set at 115 F, cover it with a lid, set the timer for as long as you would like the yogurt to ferment, and leave it on the counter until it is done fermenting.
Once the yogurt is done with the fermentation process, remove the insert from the KitchenAid attachment and place it directly into the fridge to completely cool off until it is ready to be used.
The longer you allow the yogurt to ferment, the more probiotics that it will contain. However, it is important to note that the longer the yogurt ferments, the less of a shelf life it has.
MORE RECIPES TO TRY
Gluten Free Laban Immo (Mediterranean Yogurt Stew)
Gluten Free Mediterranean Eggplant Stew With Chickpeas
Best Authentic Hummus Recipe Ever

How to make Lactose Free Yogurt
Ingredients
Equipment
Method
- If you are using a heavy bottom stockpot, heat the milk on medium high until it reaches 180 F while stirring occasionally to prevent scorching. Always keep an eye on the milk, because once the milk gets too hot it will overboil.
- If you are using a Kitchenaid attachment or a crockpot, set it to 180F
- Once the milk reaches 180 F temperature keep it on the heat at the same temperature for 10 minutes while stirring occasionally to prevent scorching. You do not want to scorch it; you just need to sterilize it.
- After the 10 minutes have passed, remove the milk off the heat while monitoring its heat. You want the milk to reach 115 or 110 F. If you would like, you can submerge the pot in an ice bath to speed up the process.
- If you are using a kitchenaid attachment, you can remove the stainless-steel liner, submerge it in an ice bath until the milk reaches 115F, dry it off, and insert it back into the attachment base.
- Once the milk reaches 115F you can now add the 1 cup of yogurt. Whisk everything for 30 seconds. Cover the pot with a lid and let it sit at this temperature for 5 up to 20 hours. You can achieve this either by covering it with a big blanket in a warm environment away from draft, or by using a heating pad.
- If you are using a Kitchenaid attachment, just simply set the temperature to 115 F and set the number of hours for how long you want the yogurt to ferment, put a lid on it, and walk away.
- While the yogurt ferments, you do not want to shake it, stir it or move it. All you need to do is ignore it.
- The longer the yogurt ferments the sourer it becomes, and the more probiotics it has. Once you are satisfied with the length of hours that it has fermented, you can remove it from the heat, and place it in the fridge to fully cool before serving.
- To create flavored yogurt, you can add a little bit of jam or preserve of any flavor into the bottom of a jar, add about a 1/3 cup of yogurt on top, cover and let it sit for a day or 2, then serve.
Notes
Disclosure: Some of the links in this post are “affiliate links”. This means if you click on a link and purchase the item, I will get an affiliate commission. It will not cost you any extra money, but it will help me pay for this website, and it will help me to keep providing you with helpful articles such as this one. I only post links to products that I personally use and love, or to products that I wish I could have, and that could be of value to you. The information that I provide you with, my blog, videos, and many resources are free.

Be the first to reply