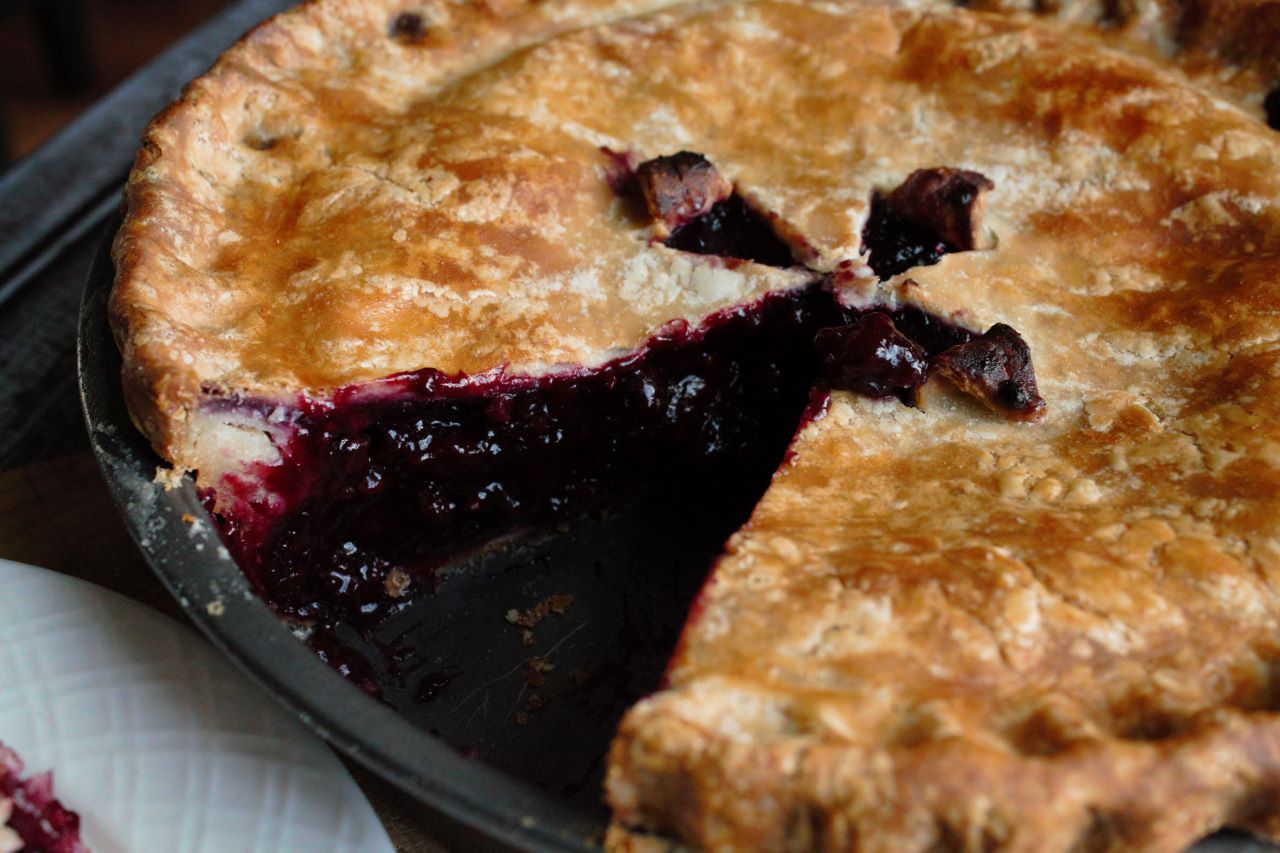
This gluten free pizza Dough is perfect for any type of pizza that you can think of. It can also be used with many other recipes, not just pizza. It is fluffy. It’s crunchy. It’s everything you can dream of for a pizza dough. You can also hold this pizza dough with your hand after it’s baked like you would with a wheat dough. You can even fold it if you wish! I developed this recipe because all of us gluten free peeps are dreaming of the perfect pizza dough that reminds us of the wheat pizza that we used to eat, that is if we hand the chance to try it before.
Jump to RecipeHIGHLIGHTED INGREDIENTS
- Brown rice flour is an essential ingredient in most gluten free baked goods. It adds a great texture and a wonderful flavor
- Sweet rice flour is a more glutinous flour than brown rice flour. Simply put, it is more stretchy or sticky. It helps in creating a moist dough rather than a dry dough.
- Potato starch is also added for its ability to absorb moisture and create a soft dough, but it is also added for flavor.
- Tapioca flour behaves in a similar manner as potato starch. I added it here for a variance of flavor rather than functionality. You can substitute it with potato starch or cornstarch if you wish.
- Xanthan gum is added to most gluten free baked goods because of its ability to hold its gelatinous structure at varying temperatures, including high temperatures. This quality of xanthan gum allows baked good to expand during the baking time without collapsing or cracking and allowing all the carbon dioxide to escape.
- Baking powder powder is used in this recipe instead of yeast to allow for a quick dough.
DO I NEED A HAND OR STAND MIXER TO MAKE THIS GLUTEN FREE PIZZA DOUGH RECIPE?
The quick answer is no.
This gluten free pizza dough is so versatile, so easy to make, and so easy to remember. It will also give you some good exercise as you make it.
As much as it is tempting to use a hand mixer or a stand-up mixer in making this pizza dough, I do advise against the use of these two, specifically for this dough. You will achieve a much better result by mixing the dough using just your hands.
The down side for a hand mixer or a stand-up mixer is that they will over mix the pizza dough, making it more difficult to roll it and handle it. While if you mix this dough by hand, there is no chance of you over mixing it.
You have to remember, this is a gluten free pizza dough. There is no gluten here to develop, and we are not trying to create air bubbles as we would in the case of some gluten free breads and such. When overmixed, this dough becomes more like a batter rather than a dough.
If you do end up using a hand mixer or a stand-up mixer, make sure to mix only for a short time. If the dough becomes super soft, and you cannot use a rolling pin to spread it, you can simply spread it using a spatula, or by wetting or oiling your hands and patting the dough to the desired shape using your oiled hands.
The benefit of using your hands for mixing the dough, is that the dough will maintain a great structure giving you the ability to roll it using a rolling pin. It will not be overly sticky, and it will resemble a wheat dough.
PREPARING THE DRY INGREDIENTS
The first step to making this gluten free pizza dough is to mix all the dry ingredients in a medium bowl, including the salt, sugar, xanthan gum, and baking powder. You’ll want to do that first to ensure that the dough has a similar texture everywhere that it exists. Otherwise, you will end up with a patchy dough that behaves differently in each spot, especially if you are mixing using your hands.
Unlike wheat dough, there are many flour types involved in making this dough. So you’ll want to make sure that they are well incorporated into each other, and that they behave as one. To ensure that, mix them using a whisk.
A VEGAN ALTERNATIVE
The original recipe includes an egg as a binder in the recipe. You can substitute the egg by mixing 1 tablespoons flaxseed powder and three tablespoons water until they form a gelatinous substance, or by adding 1 tablespoon of psyllium husk powder and 3 tablespoons water to the recipe.
Psyllium husk also adds a great “wheat-like” flavor to the recipe, and offers a wonderful texture. I do not advise using it on its own in the place of xanthan gum however. Use it only as an egg replacement and not as xanthan gum replacement.
As mentioned earlier, xanthan gum can operate at a wide range of temperatures. If you do not use it, the dough will crack. Psyllium husk on the other hand does not perform well when its exposed to high temperatures. In fact, psyllium husk loses its viscosity at high temperatures, hence leading it to be ineffective at holding the structure of any gluten free baked good.
WHAT SHOULD THIS GLUTEN FREE PIZZA DOUGH LOOK LIKE
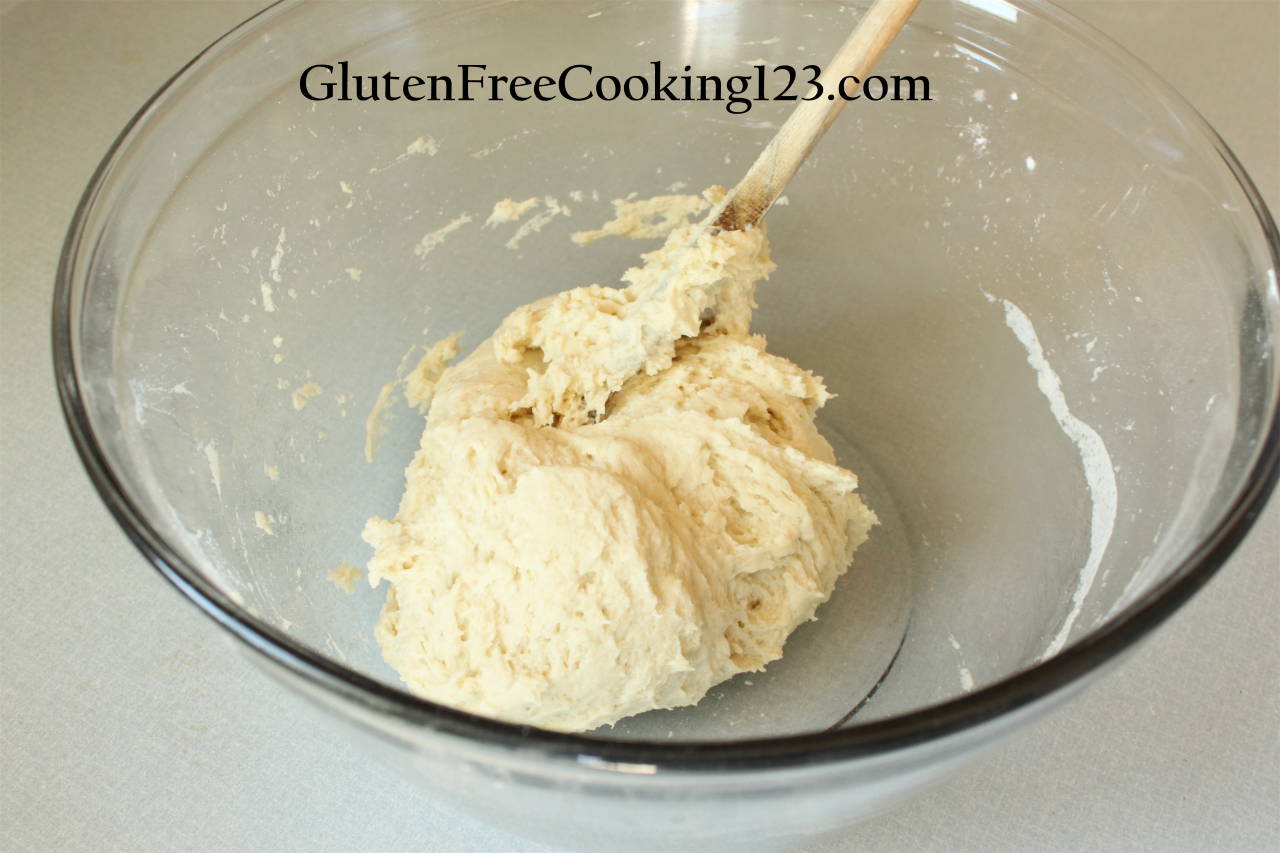
When done the dough should resemble an elastic wheat dough. It will be slightly sticky, but not overly sticky. It should have a roll-able consistency, but it will not be stretchy like a wheat dough because it lacks the gluten that allows it to stretch.
If you are using this dough for a pizza, you will need to preheat your oven to 400 F. This dough requires double baking to achieve that fluffy and crunchy texture.
ROLLING THE DOUGH
My favorite method to roll this dough is on a silicone mat. This way, I can easily transfer it to my baking sheet.
If you do have a silicone mat, I advise you to use it. generously oil a rolling pin. Lay the dough flat on the silicone mat and roll it to the desired shape.
I like the dough to be about 1/4 inch in thickness after I roll it because it will continue to expand as it enters the oven, but if you like a really thick dough, you can roll it to a wider thickness.
If you do not have a silicone mat, you can oil your hands or wet them, lay the dough on a greased pizza pan, and spread it using your hands, mainly your palms.
In both methods, whether rolling the dough, or spreading it with your hands, you should not apply too much pressure as you roll or spread it. This gluten free pizza dough requires a minimal amount of pressure to go where you want it to go, and to spread where you want it to spread.
If you apply too much pressure, the dough will begin to stick to the rolling pin or to your hands, and it will also look deformed. Gentle is the key here.
THE BAKING PROCESS
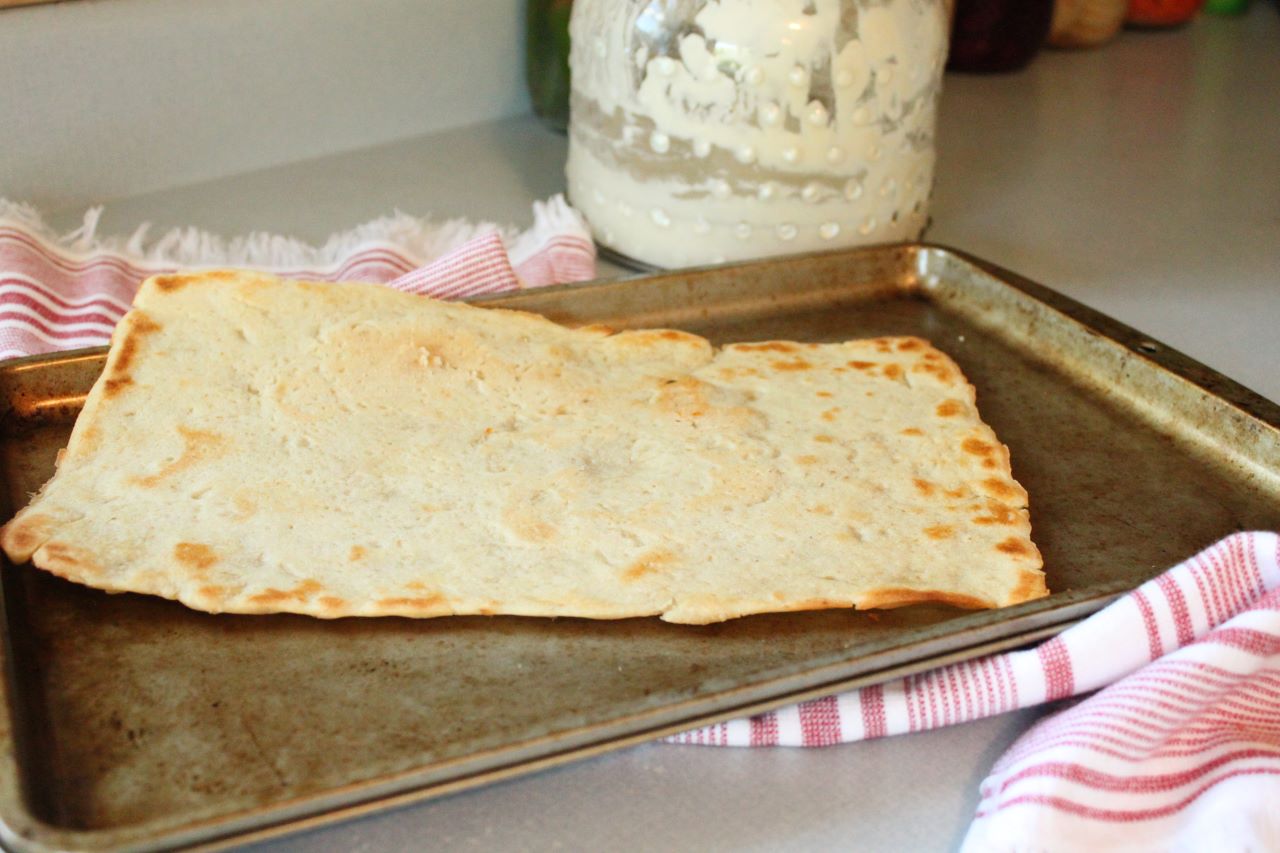
once you have rolled the dough, transfer the silicone mat with the dough on it onto a baking sheet. Place the baking sheet into the oven at the bottom rack. Allow the dough to bake for 10 minutes at 400 F.
Take the dough out of the oven, and allow it to cool before you top it with the pizza toppings. The reason why you want to do that is that while the dough is still hot, it will absorb most of the sauce that you put on it, it will not give you a crunchy texture, and you will not have the amount of sauce that you would have liked on your pizza.
So to begin with, allow the pizza dough to cool, and then spread the toppings on. A cool dough is less likely to absorb the sauce. It will give you a crunchier texture, and a more delicious pizza overall.
For the second bake, preheat the oven to 450 F. Once you have all the toppings on, place the pizza into the preheated oven, on the bottom rack for 12 minutes.
Allow the pizza to cool slightly before slicing and serving.
I like to slice my pizza using a kitchen scissor, whether it is on a silicone mat or not. I find that this technique is a lot easier than using a pizza cutter. It will also prevent from scratching the pan, or cutting the silicone mat.
Here are some recipes that you can use this gluten free pizza dough with.
Gluten Free Loaded Veggie Pizza
Gluten Free Zaatar Manakish
THINGS TO WATCH OUT FOR WHEN MAKING THIS GLUTEN FREE PIZZA DOUGH RECIPE
The brand of flour you use matters. It completely changes the texture of the dough. I recommend using a good brand that you like for best results.
You also do have to consider humidity. Just as in regular baking you have to factor in humidity in order to adjust the dough consistency, you also have to do the same with gluten-free dough as well.
For now, I have been adding brown rice for this recipe when it does seem too wet, but I am not sure if it is the only flour that I should be adding to achieve the best results. It still tastes great, but the consistency is slightly different. I will try to add the proper amounts of all four flours listed in the recipe in case if humidity causes my dough to be too wet, and I will update you with the results
If you want a more flavorful dough, you could always add some seasoning to your dough, such as oregano, basil, or garlic powder. Lately, my son and I like to sprinkle garlic powder and black pepper on our slices of pizza, so I now sprinkle it on top of the pizza before I bake it, and it makes for a delicious pizza.

CHECK OUT THESE GLUTEN FREE RECIPES
Gluten Free Brioche Bread With Date Filling
Soft And Fluffy Vegan Gluten Free Burger Buns
Gluten Free Brownie Recipe – Fudge Brownies
Gluten Free Vanilla Cake Mediterranean

Gluten Free Pizza Dough Recipe
Ingredients
Equipment
Method
- In a medium bowl, mix all the dry ingredients together until well combined.
- Create a well in the center of the mixture.
- Crack the egg and place it in the well which you have just made.
- Add 1 cup of water into the well.
- Gently beat the egg with the water.
- Mix all the ingredients together until well combined.
- Continue to mix vigorously for one to two minutes until the dough begins to resemble a wheat dough.
- If you are using this dough for pizza, spread the dough to a ¼ inch thickness on a silicone mat, or a well-greased pan, and bake for 10 minutes at 400 F.
- Remove from the oven, allow it to cool and top it with your favorite pizza toppings.
- Bake for 12 minutes at 450 F.
- Allow to cool for a few minutes, slice, serve, and enjoy!
Notes
Disclosure: Some of the links in this post are “affiliate links”. This means if you click on a link and purchase the item, I will get an affiliate commission. It will not cost you any extra money, but it will help me pay for this website, and it will help me to keep providing you with helpful articles such as this one. I only post links to products that I personally use and love, or to products that I wish I could have, and that could be of value to you. The information that I provide you with, my blog, videos, and many resources are free.


Hello
I’m in lebanon, and it’s hard and very expensive to buy gluten free flours, the most available is oat, corn starch and white rice.
Do you have special recipes using it.
Thank you
Hi Maya,
Nice to see a fellow Lebanese here, I am so sorry for all the trouble you are all going through. I pray things will get better.
If oats, corn starch, and rice are your only options you can make a flour mix using them.
The general ratio for grain to starch in a gluten free flour mix is 2:1. So for 2 cups of grain flour, you need to add 1 cup of starch.
You can try adding 1 1/2 cups of rice flour, 1/2 cup of oat flour, and 1 cup of corn starch. Try a small batch and see how you like it. You can even cut this ratio by half for your first try.
If the first mix seems too dry for your liking, try adding 1 cup of rice flour, 1 cup of oat flour and 1 cup of corn starch, and see how that works.
If you do not have xanthan gum available, Whatever you are making will turn out crumbly. To prevent that, you can try adding a tsp to 2 tsps non flavored gelatin to the mix.
Best of luck!
Chantal