
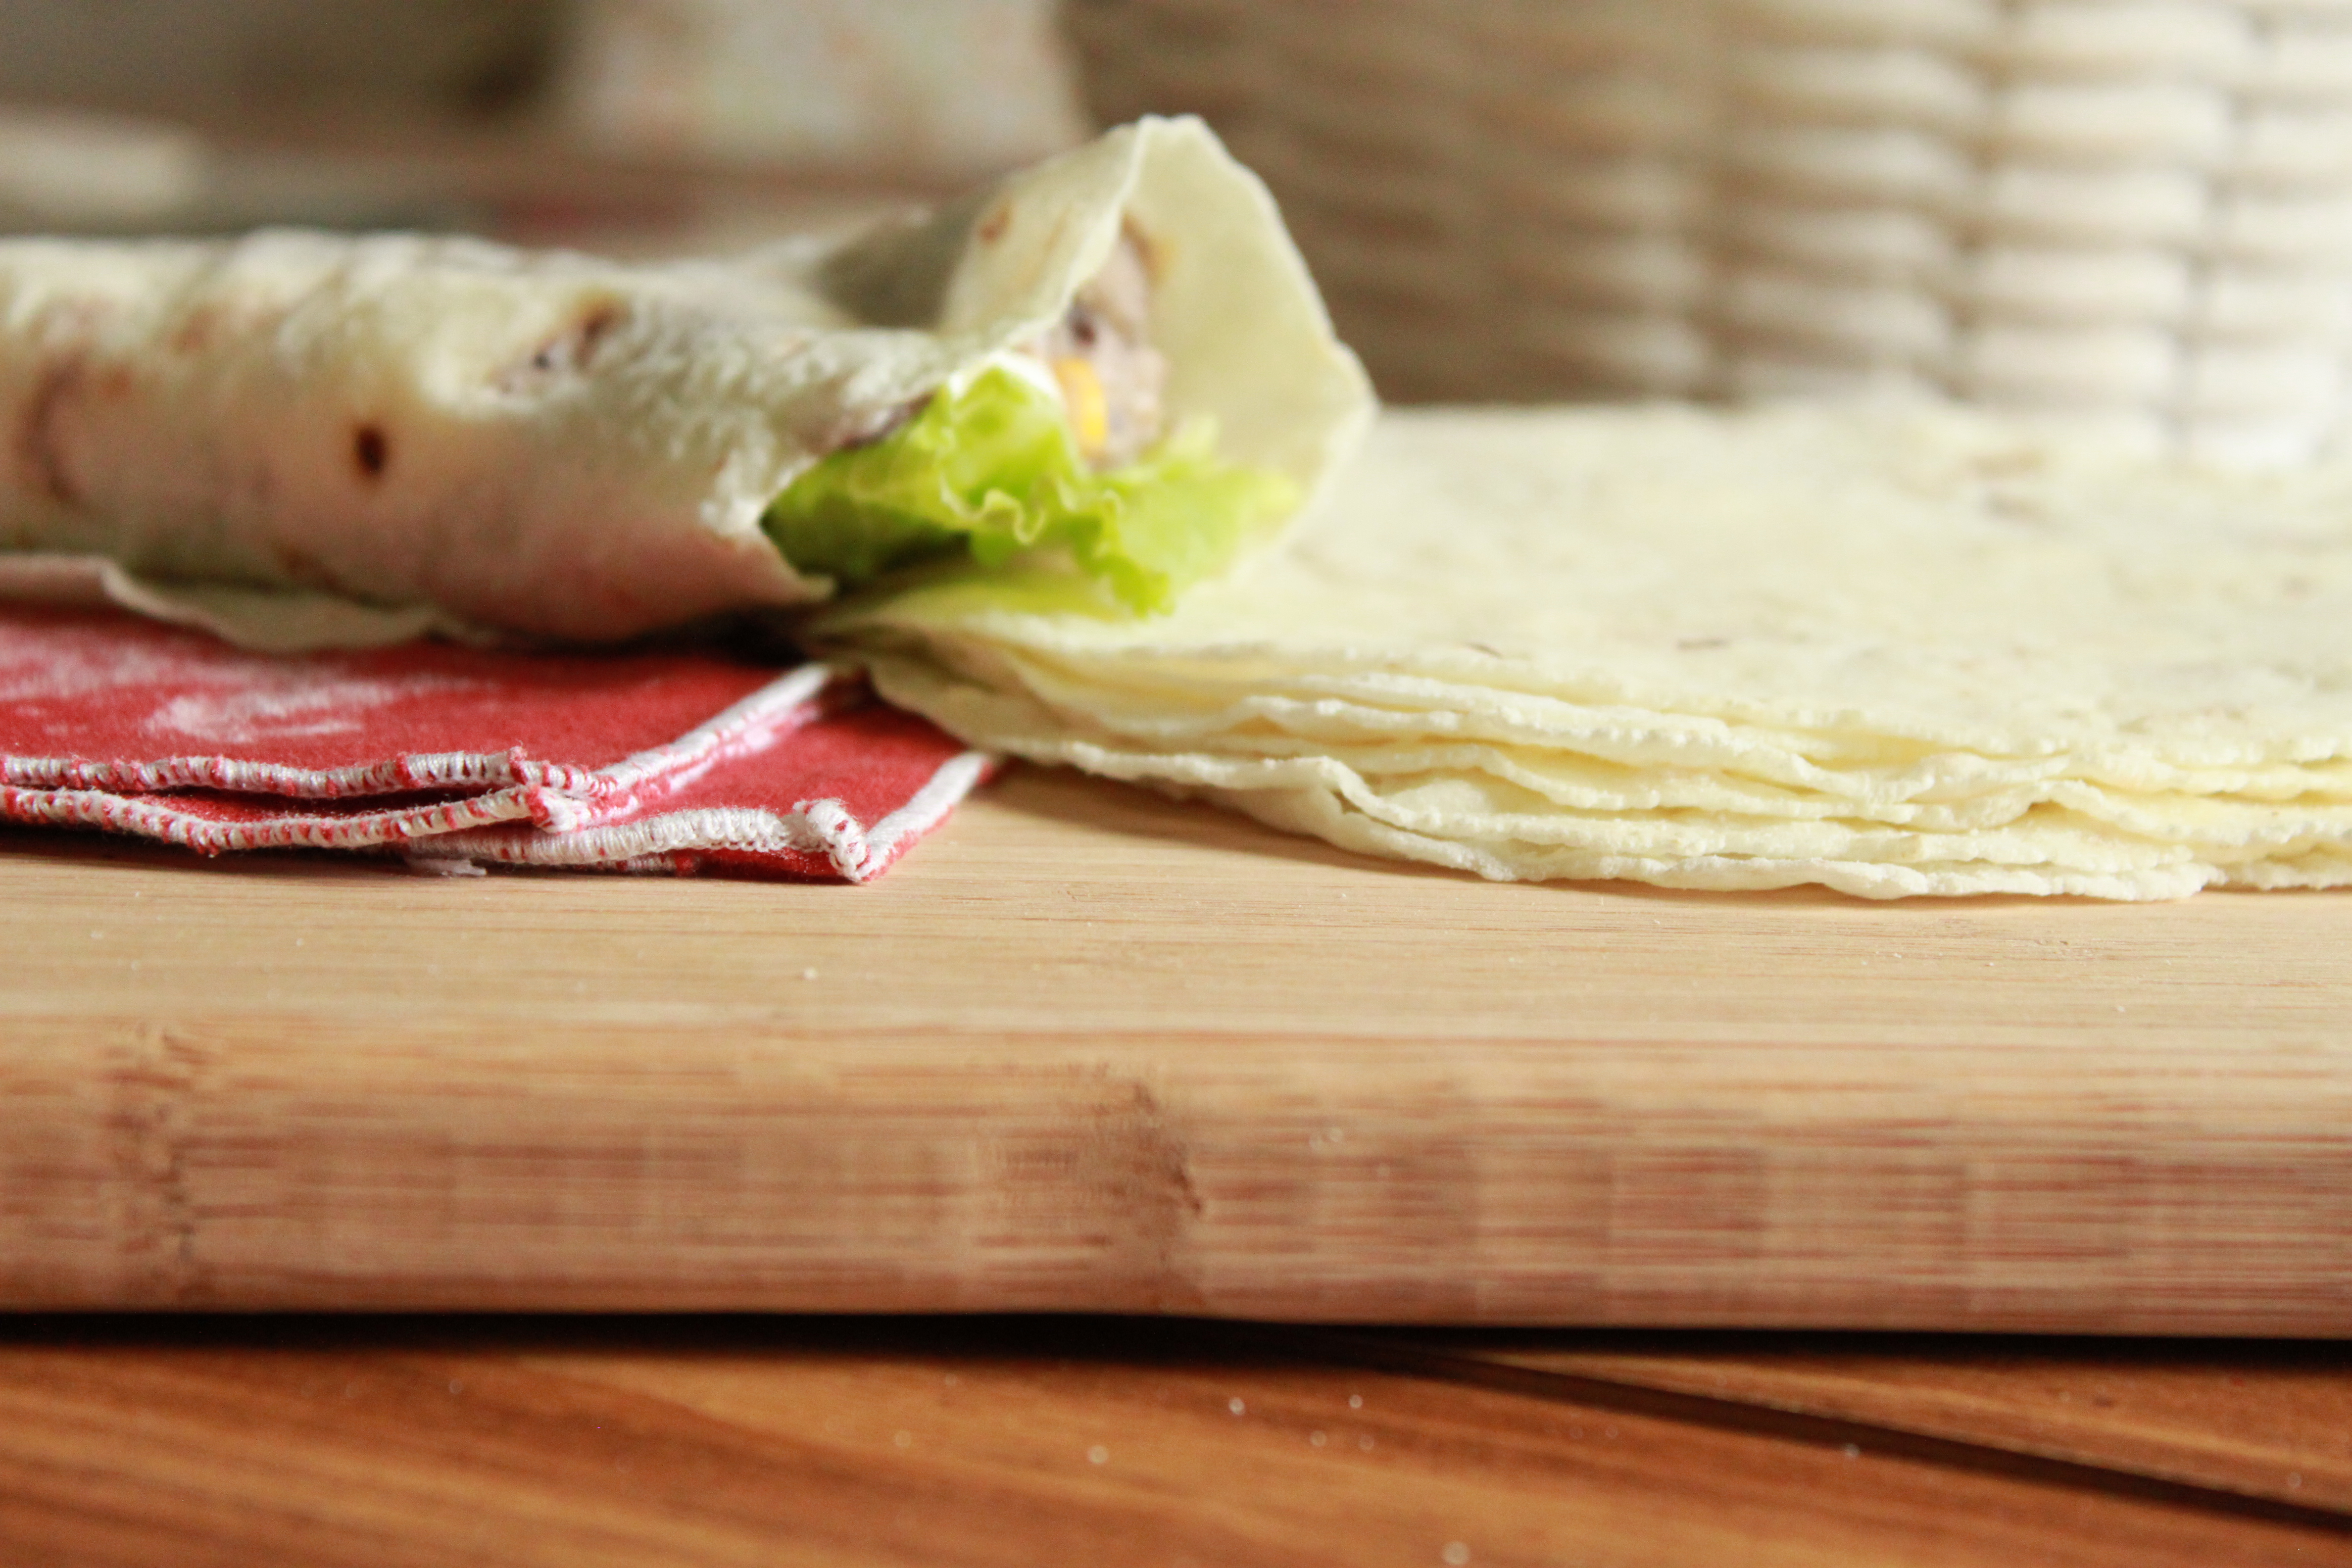
This gluten free Roti recipe is so simple and so easy. You will find yourself coming back to it over and over again. One warning, it is very addicting and super delicious! It only takes 5 simple ingredients to make this delicious gluten free bread.
INGREDIENTS TO MAKE GLUTEN FREE ROTI
- White rice flour this is different from sweet white rice flour. White rice flour is not as “sticky” as sweet white rice flour (also known as glutinous rice flour because of its sticky texture).
- Extra virgin olive oil to add both flavor and texture.
- Salt for flavoring. You can use any salt of your choice. Just remember to adjust the amount of salt you’re using depending on what type of salt it is.
- Water to make the dough.
- Vegetable or sesame oil to prevent the dough from sticking to the work surface when kneading it. If you decide to use sesame oil, the bread will have a hint of sesame flavor to it. If you use olive oil, that also will give its flavor to the bread. Use whichever oil you want for whatever flavor you are going after.
UTENSILS NEEDED TO MAKE THIIS GLUTEN FREE FLATBREAD
- Medium stockpot
- Wooden spoon
- Measuring cup
- Measuring spoons
- Sharp knife
- Tortilla press
- Parchment paper
- Large pan
- Spatula
WHAT TO DO IN CASE IF YOU RUN OUT OF RICE FLOUR
Did you know that you can make your own rice flour to make this bread with?
Well, if you didn’t, I have a blog post just about that very thing DIY – How To Make Rice Flour At Home – 3 Different Ways. You can go check it out if you are curious about it, or if you happen to have run out of rice flour and can’t seem to find it any where.
MAKING THE GLUTEN FREE ROTI DOUGH
To Start, boil the water salt and olive oil in a medium pot. Make sure to mix the salt until it is well dissolved before you boil the mixture.
Making Gluten Free Roti on an Electric Stove
Once the mixture has boiled, turn off the heat and keep the pot on the same range.
Add the rice flour and mix vigorously until the mixture resembles a dough and it starts pulling off the sides.
Roti on a Gas Stove
If you are using a gas stove, transfer the mixture onto the smallest range, and place on low heat.
Add the rice flour and mix vigorously until the mixture resembles a dough and it starts pulling off the sides.
What Should My Gluten Free Roti Dough Look Like?
The dough should not be too sticky. If it is too sticky, you will need to add some additional rice flour to it while it is on very low heat. A very sticky dough will present itself difficult in the process of making gluten free roti.
You also do not want a very dry dough as it will produce hard dry bread. You will have to make this recipe several time in order to figure out the right consistency for the dough as it is difficult to describe it with words only. The more practice that you get making this bread, the better you will get at it.
HOW TO MAKE A SOFT GLUTEN FREE ROTI
Once the mixture has formed a dough, remove it off the heat, and cover it. Let it cool for a few minutes just until it is cool enough for you to handle with your hands.
lightly oil the surface of a clean counter-top . Place the dough onto the oiled surface and knead for about 5 minutes or until the dough feels smooth and somewhat elastic. You might need to add some oil onto the counter-top if you notice the dough sticking to it.
You could use any oil to oil your counter-top, but I personally prefer to use sesame oil as I find that it lends a beautiful flavor to the gluten free roti dough.
Meanwhile, right before you begin kneading the dough, on medium heat, preheat a non stick pan or a cast iron pan that has a diameter that is large enough to fit the bread that you will be making.
I Personally prefer to use a cast iron pan, but non stick will do too.
Have a clean dish towel on hand as you will need it to clean the pan after each piece of flat bread.
Once the dough is formed and well kneaded, roll into a 2.5 inch in diameter log. Place back into the pot and cover to keep moist.
If you leave the dough in open air, it will dry out and make it very difficult to make the rice bread.
PRESSING THE DOUGH TO FORM A GLUTEN FREE FLATBREAD OR ROTI
You can either use a tortilla press for this process or a rolling pin.
I like to use a tortilla press because it makes life so much easier. The process goes a lot quicker, and my counter stays clean.
If you are using a tortilla press, cut a piece of parchment paper that is as wide as the diameter of the tortilla press, but twice as long. Fold it in half. Place the crease side facing the pressing mechanism inside the tortilla press. Essentially, you want to create sort of an envelop to press the bread in between to prevent the dough from sticking to the press.
Take about a golf size ball or slightly bigger piece of dough and place in between the parchment paper in the middle of the tortilla press. Press until flat.
HOW TO GET A PERFECT GLUTEN FREE ROTI
Place the pressed dough onto the palm of your hand and quickly flip it onto the preheated pan. Let it cook on the first side without touching it until it begins to bubble on the top, or brown on the under side.
Flip to the other side and let it cook until slightly browned on the side that is touching the pan.
I personally like mine slightly on the burnt side. I do like to get those burn marks on the bread as I find that they add a deep flavor to the bread.
Make sure to not touch the bread once you place it on the pan until it begins to bubble. The bread will stay stuck to the pan until it is well cooked. If you try to move it when you first place it on the pan, you will find that it will stick a lot. So just let it be until it is well cooked. Once it is cooked, it will lift itself off the pan.
If you do get any burnt marks on the pan, take a clean dish towel and quickly wipe of the burnt pieces onto a plate or into the sink. You don’t want hot burning pieces in your trash, as they can be a fire hazard. That is why I suggest putting them onto a plate or in the sink in order to cool down before you throw them in the trash.
Place the cooked bread onto a plate or a bread basket and cover with a towel to keep moist.
HOW TO ROLL THE ROTI DOUGH USING A ROLLING PIN?
If you are using a rolling pin, make sure to flour the rolling pin and the counter-top using corn starch, or rice flour, or any other type of starch that will prevent the rice dough from sticking to the counter.
I personally prefer to use the tortilla press not just for speed and cleanliness, but also because I find that the starch added to prevent the rice dough from sticking to the counter-top makes the bread drier and hence a little harder and less pliable.
Once you sprinkle some starch on the counter-top, take a golf size piece of dough. Make sure to keep the dough that is not being used covered at all times to prevent it from drying out.
Press the dough with your palm onto the counter-top and roll to about an 1/8″ or a 1/4″ thick round piece of dough. Transfer onto the preheated pan and bake on both sides.
You may find that you need to adjust the heat of your stove as the pan tends to get hotter the longer it stays on the heat. You might need to place the heat on medium low after you make a few loaves of bread.
HOW TO STORE GLUTEN FREE ROTI BREAD
To store this type of bread, place into a resealable plastic bag and store outside of the fridge. Storing it in the fridge can cause it to harden, dry out, and almost become tasteless.
This bread can last up to 5 days outside the fridge.
This gluten free roti bread is best when it’s fresh. As the days go by, it becomes a little dry and tough to roll. To solve this problem, simply heat the bread in a pan or in the microwave for a few seconds.

MORE GLUTEN FREE BREAD RECIPES
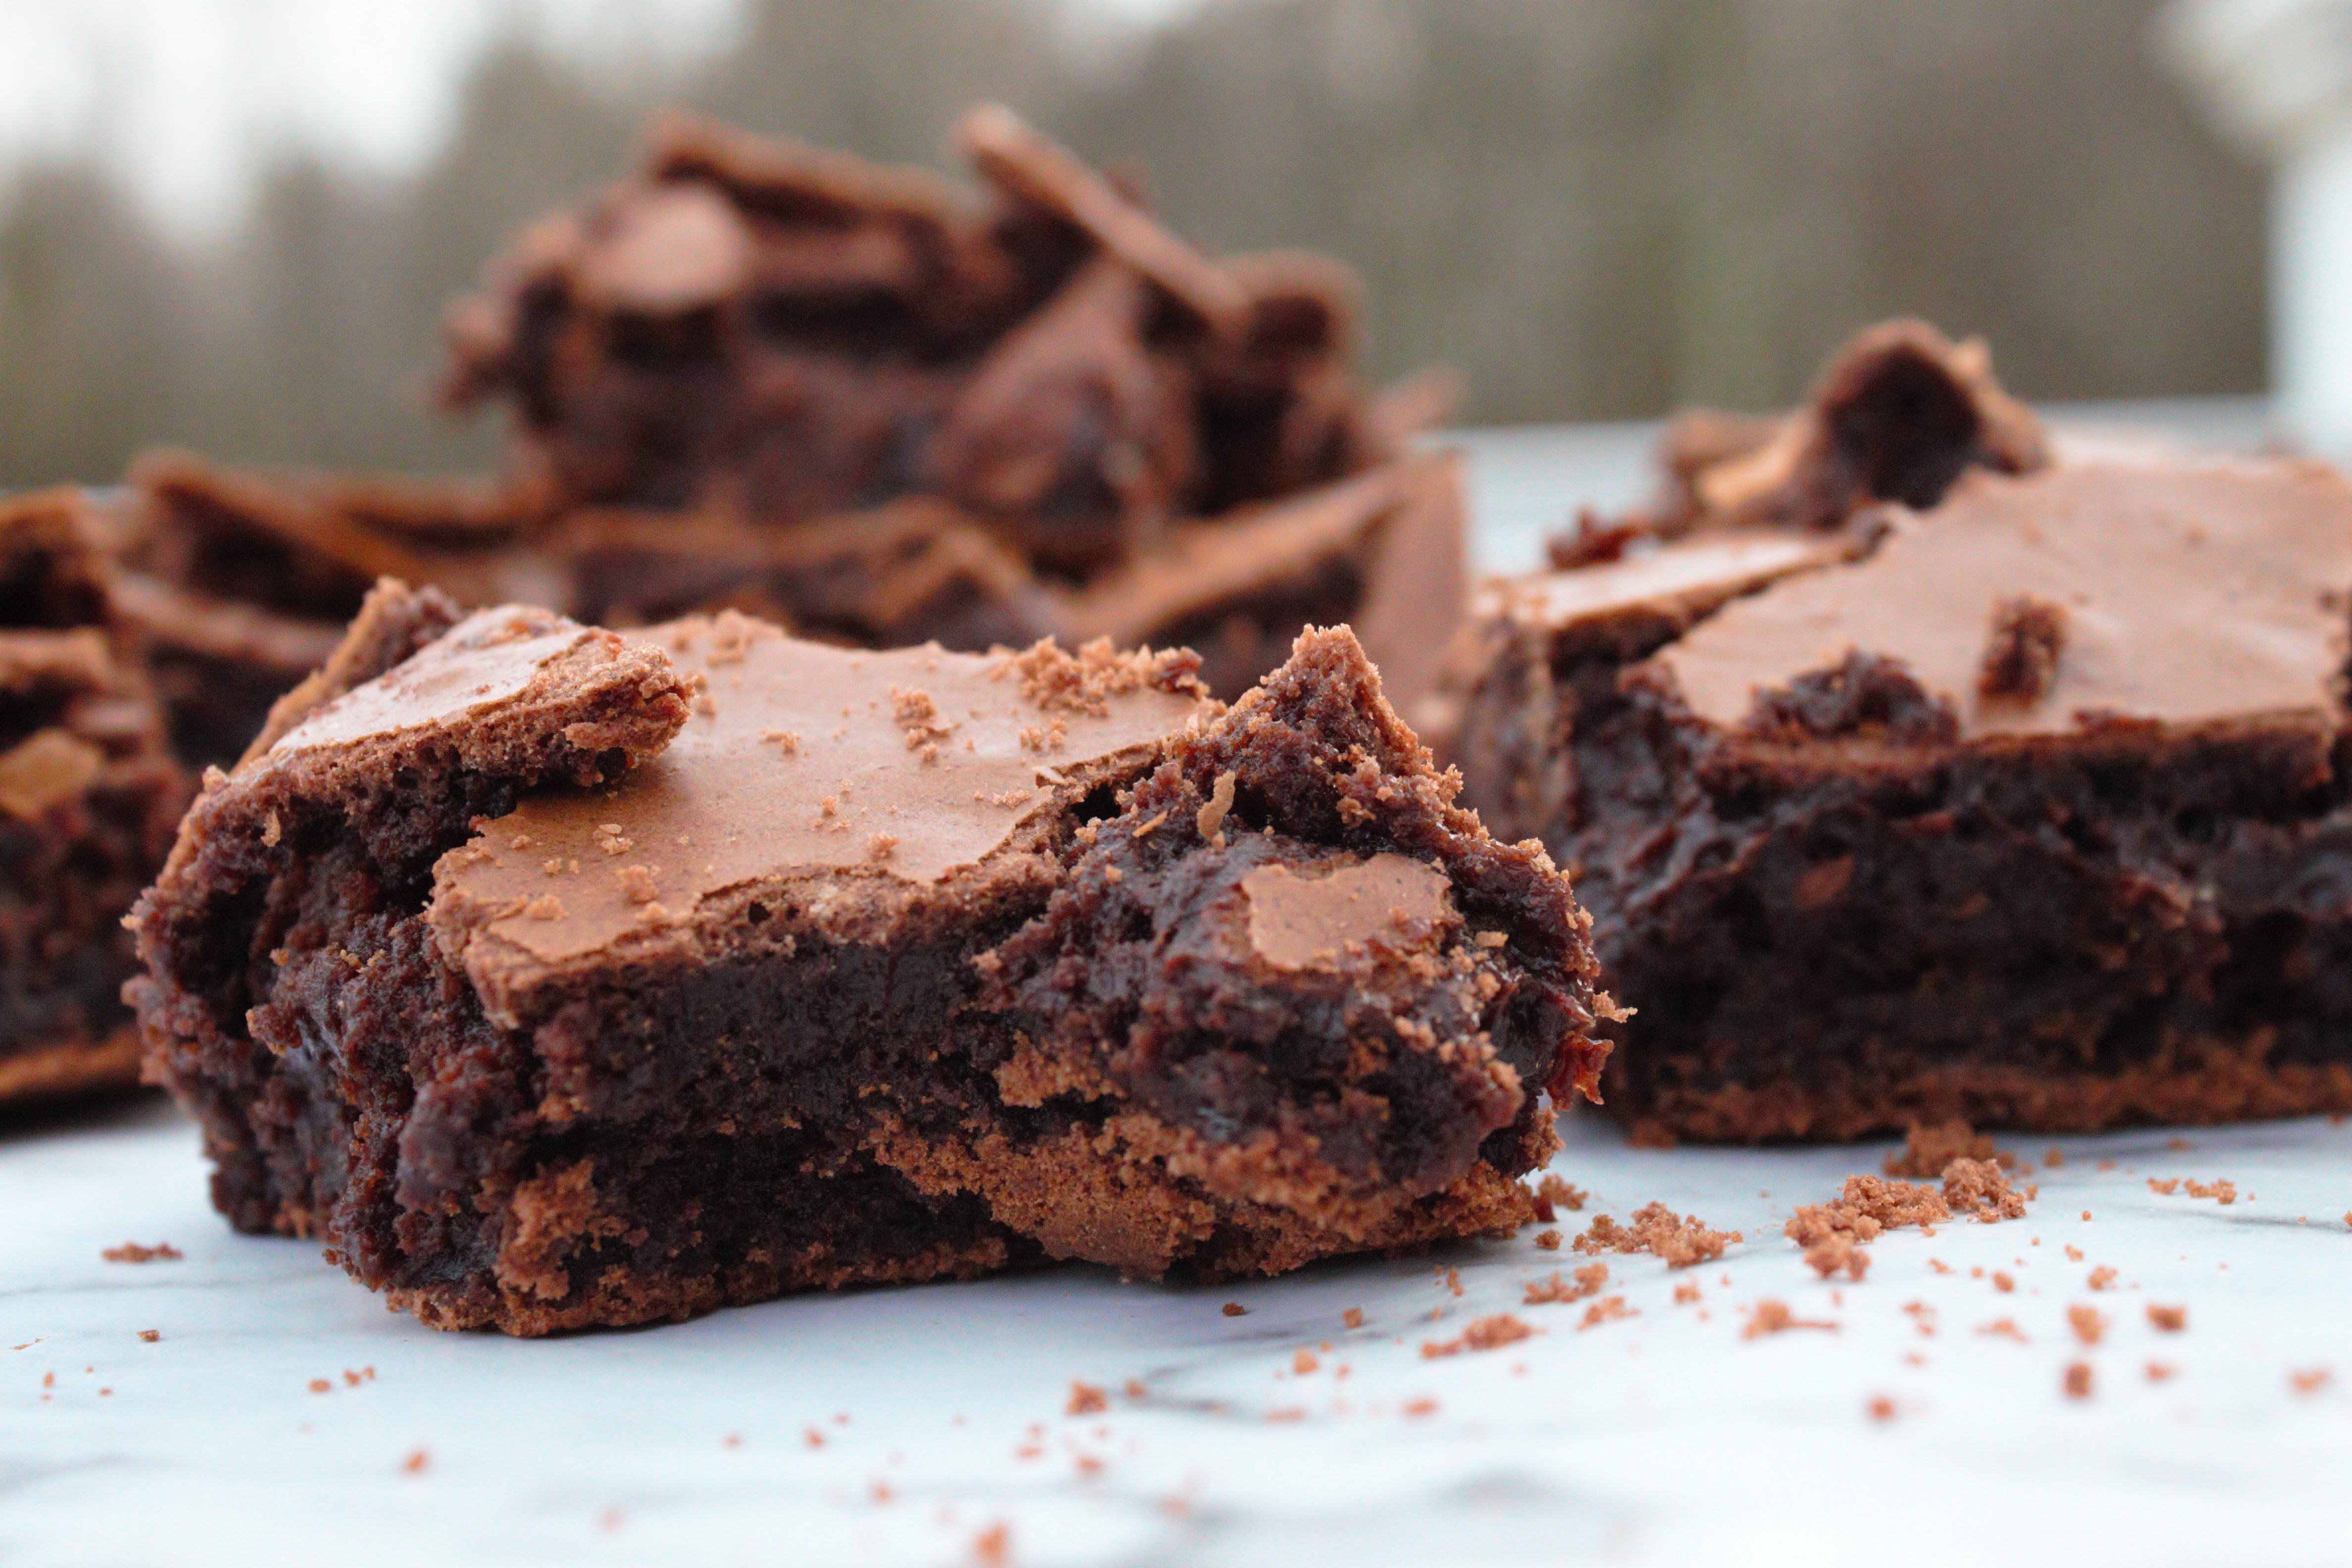
Gluten Free Brioche Bread With Date Filling
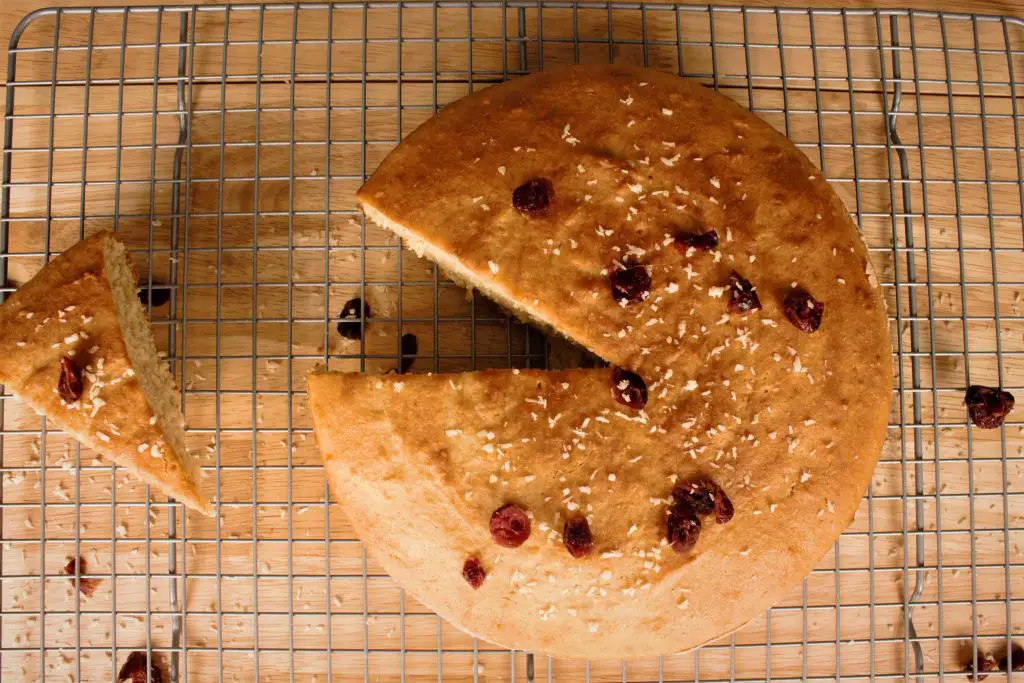
Nut Free- Vegan – Gluten Free Focaccia Bread Recipe
Gluten Free Sourdough Bread Rolls

Gluten Free Roti
Ingredients
Equipment
Method
- Place the water, salt, and olive oil into a medium pot. Mix until salt is dissolved, and bring to a boil on high heat.
- Once the mixture comes to a rolling boil, remove from heat, pour rice flour into the very hot mixture, and mix vigorously until very well combined.
- Cover, and let it rest for 10 minutes or until cool enough to handle.
- Oil a clean countertop with the 1 tsp of vegetable oil or sesame oil.
- Transfer the now rice dough onto the oiled counter, and knead for 1 to 2 minutes until somewhat elastic.
- Roll into a thick log about 3 inches in diameter.
- Preheat a large pan on medium heat.
- Cut a piece of parchment paper and fold it in half. It has to be big enough to cover the entire circle of the tortilla press.
- Place the folded parchment paper, crease side in, into the tortilla press.
- Slice about an inch to an inch and a half thick slice off the dough log. Form into a ball using the palm of your hand, and the surface of the counter, by cupping your palm, placing the top of the dough slice into that cup-shaped palm, gently pressing against the dough while forming small circular patterns.
- Take the dough ball which you have formed, open up the parchment sheet, and place the dough between the two parchment papers.
- Press the tortilla press onto the dough which is now in the tortilla press in between the parchment paper.
- Gently remove the circular-shaped dough out of the press. Place it in the palm of your hand, and flip it onto the preheated pan.
- Let it cook for about 2 to 3 minutes, or until it begins to bubble, and the bottom is gently browned. Do not attempt to lift the dough before it begins to bubble because it will stick to everything.
- Flip the dough over to cook on the second side. Let it cook for 2 to 3 minutes, or until gently browned on the side touching the pan.
- Remove from pan and transfer onto a plate.
- Repeat process 8 to 16, until you have no more dough left.
- Serve with anything that requires bread. I usually like to use this bread with Mediterranean dishes, fajitas, soft tacos, or to make a za’atar sandwich.
- When cooking this gluten free roti bread, I usually have a dough pressed and ready while the other is in the pan getting “baked”. This makes the process a lot quicker.
- To store, place in a zip lock bag, and store outside of the fridge. It will last for about 5 days. In my house, it usually lasts for a few minutes, or a few hours if I stop the little mouths from devouring it.
Video
Notes
Disclosure: Some of the links in this post are “affiliate links”. This means if you click on a link and purchase the item, I will get an affiliate commission. It will not cost you any extra money, but it will help me pay for this website, and it will help me to keep providing you with helpful articles such as this one. I only post links to products that I personally use and love, or to products that I wish I could have, and that could be of value to you. The information that I provide you with, my blog, videos, and many resources are free.
Be the first to reply