

This dish has made it all around the world. Almost everyone knows about it, and who doesn’t love it! It is Jam packed with flavor, easy to make, and a breath taker. It’s vegan, it’s healthy, and it checks all the boxes.
Ingredients:
- 2 cups dry, cracked fava beans
- 2 cups dry chickpeas
- 2 tablespoons baking soda
- 4 large onions (roughly diced)
- 1 bunch parsley (roughly diced, stems and all)
- 1 bunch cilantro (roughly diced, stems and all)
- 1 large head of garlic (about 15 cloves)
- 2 tablespoons ground coriander
- 2 tablespoons ground cumin
- 1 tablespoon paprika
- 1 teaspoon black pepper
- 1 teaspoon of either 7 spices, allspice, or garam masala (whichever is available)
- 1 tablespoon baking powder
- 1 tablespoon salt or to taste
- Vegetable oil, or oil of choice (for frying)
Utensils
- Food processor
- Chopping board
- Sharp knife
- Deep frying pan
- Kitchen spider (for scooping the falafel out of the oil)
- 2 spoons (for shaping the falafel)
- Drying rack
- Large Plate
- Large bowl
Directions
You’ll need to soak the beans and chickpeas overnight. To do that, add 2 tablespoons of baking soda to the bean mixture, and cover them with cold water. Make sure you have enough water for them to continue to expand.
The baking soda will help them to expand quicker, but it will also help in the cooking process, as these beans will not be cooked until after the patties are formed.
The next day, when you are ready to start processing the falafel, rinse the beans really well and drain them. Set them aside until you are ready to use them.

Meanwhile, as the beans continue to drain, roughly chop the onions, parsley, and cilantro. Peel the garlic, and set all these ingredient aside.
Get your biggest bowl ready, and a good food processor. Unfortunately, my food processor is so small that I have to process my falafel in several mini batches.

To process the falafel, you’ll need to layer the ingredients properly so that the food processor can process them properly. If you put too much of one ingredient at the bottom of the food processor, you will notice that it will only process that ingredient, and the rest will stay unprocessed. You will then have to flip them continuously to ensure that everything gets processed really well.
To avoid this problem from the beginning, place a small layer of the beans at the bottom of the food processor, top it with a small layer of onions, then parsley cilantro and garlic. Repeat this layering process one more time, but do not over pack the food processor. It needs to have some room at the top for it to process correctly.
Have a butter knife or a spatula ready. Process all the ingredients on high. Stop the processing for a minutes, scrape down the edges of the food processor and any remaining ingredients that did not get processed. Push them down into the batter, and continue to process until you achieve a creamy texture.


The texture of the batter should feel like soft ice-cream, but it will not be as creamy.
continue to process the remaining ingredients in the same fashion. Transfer the processed ingredients into the largest bowl that you have.
Once all the ingredients are fully processed with no large chunks in between, you are then ready to add in the spices.
Add in all the spices, and the salt into the batter, but do not add the baking powder unless you are going to use all this batter in this very hour that you have made it.
A hand mixer or a stand up mixer will come in handy now for mixing all these ingredients together, but you can also mix them using your hands to ensure that all the ingredients are well incorporated and distributed equally among the batter. besides, it is fun to play with the batter! And can I say, it smells heavenly!
Once you mix in all the spices, divide the batter into the amounts that you will be using for one meal at a time. The easiest way to divide the batter is in thirds, this way you know that you will need a teaspoon of baking powder for each third.
Do not add the baking powder into the batter unless you are ready to use it. Adding the baking powder a long period before you are ready to use it will cause the batter to become bitter, and it will render the baking powder useless as baking powder stays active only for a few minutes after adding it to the batter.
Add the baking powder to the portion that you want to use about 10 minutes before you are ready to fry the batter.
Get two spoons, they will be your weapon of choice for forming the batter into patties. You can also use one the falafel patty mold thingy, but I always found it to be annoying to use, and the batter ends up sticking to it. That’s why I prefer to use two spoons instead, and that’s how my daddy does it.
Place some vegetable oil into a large frying pan to deep fry the patties in. You want the pan to have a wide diameter so that you can make multiple patties at the same time.
Preheat the oil on medium high heat.
To test if the oil is hot, put some of the batter onto the tip of the spoon and put the tip of the spoon with the batter on it into the hot oil. Leave it there for a few seconds. If you do not see any bubbles forming around the spoon and the batter, that means the oil is not hot enough.
Once you see bubbles forming around the spoon, you will know that the oil is ready to fry the patties in it.
Before you begin frying the patties, prepare a sheet pan, or a plate with a wire rack placed on top of it to place the fried patties on.
To shape the patties, take to regular eating spoons, place some batter on of them, and shape the batter into a small dome using the other spoon.
Using the edge of the companion spoon, scoot the batter into the hot oil. Repeat this process with the remaining batter. Just make sure to not over crowd the pan. You will need some space between the patties to allow you to flip them and take them out.
Once you notice that the bottom side of the patties is turning into a dark brown color, flip them onto the opposite side.
You will need the patties to achieve a dark brown color on both sides before you take them out of the oil because the beans are not cooked, and it will require some time for them to cook properly on the inside.
If the patties are getting dark too quickly, reduce the heat to medium heat. You want them to reach that dark brown color at a fairly slow rate, but not too slow. This will allow the patties to cook properly on the inside.
As you remove some of the patties out of the oil, continue to shape the raw batter, and drop some raw patties into the oil. This will speed up the cooking process instead of waiting for all the patties in the hot oil to be gone before you add any in.
Transfer the fried patties onto the wire rack. This will allow them to drip the excess oil and maintain a crispy outside.
To serve the falafel in the traditional mediterranean way, you will need to put it in a wrap with the proper ingredients. Otherwise, you will be totally missing out on the true deliciousness of this dish.
You can use some flat rice bread for the wrap.
Place a few of the falafel patties into the middle of a flat rice bread wrap, add in some turnip pickles, some freshly chopped parsley, some tomato slices, a thin slice of Mediterranean cucumber pickles, some chili pepper pickles, and some Taratour or tahini sauce. Wrap it all together, take a bite, and seriously enjoy!
I know, it is a lot of ingredients in that wrap, but this is what makes it so unique, so full of flavor, and soooooooo good! O man, I need some falafel right now! I wish I made some more last night. Regrets, regrets. I am not sure if this is my pregnant belly speaking or me, HA!
If your batter seems too runny, which it shouldn’t be, but if it is, you can add some oat or rice flower to it to thicken it up a little bit to allow you to make the patties. Don’t add to much flour all at once, add it in a little at a time to see how the batter performs. This will definitely change the taste, but it will still taste good.
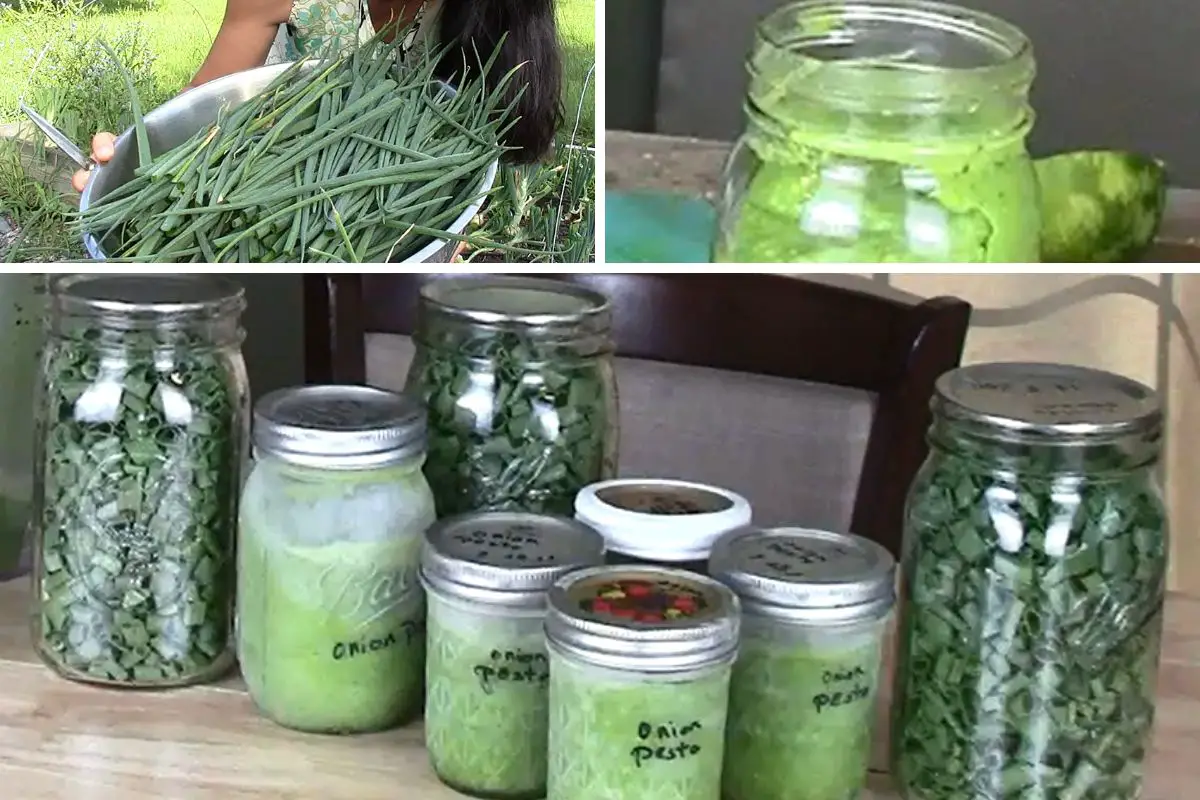
This batter serves about 12 people, but if you do not have 12 people to feed, you can divide the batter into sensible portions for you and your family, place it into freezer bags, label it, and freeze it for the next time you are ready to use it.
Since making the falafel batter is such a hassle, I decided to save me and you the time by making a large quantity upfront and saving the rest for the next time I crave it.
All you have to do the next time you want some falafel is to take it out of the freezer the night before, let it thaw, and add in the baking powder 10 minutes before you are ready to use it.
There you go! This is the ultimate freezer meal that everyone should have in their freezer. Even if you don’t like falafel, just so that you can feed me the next time I come over to your house lol.

Falafel (Mediterranean Bean Burger Patties)
Ingredients
Equipment
Method
- Add the cracked fava beans and chickpeas into a large bowl. Add the 2 tablespoons of baking soda. Soak overnight in cold water.
- Thoroughly rinse and dry the chickpeas and fava beans.
- In a food processor, add a small layer of the chickpea fava bean mix, some onions, some parsley and cilantro, and some garlic. Repeat layers one more time, and process on high. You might need to stop processing every now and then, and scrape the edges of the food processor pushing any unprocessed ingredients down. Continue to process until the texture is creamy.
- Repeat the last step with the remaining ingredients.
- Place the processed ingredients into a large bowl. Add in the spices and salt, and mix really well. You could use a hand mixer or a standup mixer to do this job for you.
- You will need 1 tablespoon of baking powder for the entire amount of falafel mixture. Most likely, you will not be cooking this large amount all at once unless you have a large crowd to feed.
- If you are going to use only a part of the batter, take whatever amount you need, and add the required amount of baking powder to it about 10 minutes before you begin the frying process. An easy way to know how much baking powder to add into the batter is to divide the batter into thirds. Each third will require 1 tsp of baking powder. Do not add the baking powder to the batter unless you are going to use it almost right away.
- Fill a large frying pan with vegetable oil, or oil of your choice, and preheat oil on medium high. To test if the oil is hot, place a little bit of the batter onto the tip of a spoon, and place the tip of the spoon into the oil. If after few seconds of placing the tip of the spoon into the hot oil you see bubbles forming around it, then you will know that the oil is hot and ready to fry the falafel patties.
- To form the patties, take too spoons, scoop some of the falafel batter into one spoon and shape it with the other spoon into a small dome.
- Take the edge of the empty spoon, and use it to scooch the falafel patty into the hot oil. Repeat these last 2 steps until you have about 10 to 12 patties in the frying pan, or as much as your pan can handle. However, do not overcrowd the pan.
- Using a kitchen spider, once the patties achieve a dark brown color on one side, flip them over onto the other side. Allow them to continue to get fried in the hot oil until they are dark brown in color on both sides.
- Place a wire rack on a pan or a plate. Transfer the fried patties onto the wire rack.
- After you remove some of the patties onto the wire rack while the others continue getting fried, form some more patties and drop them into the hot cooking oil.
- Once you are done frying all the patties, turn off the heat, and carefully remove the pan filled with the hot oil away from the heat.
- You can serve these patties in a rice wrap along with some turnip pickles, cucumber pickles, fresh chopped parsley, tomatoes, pickles hot peppers, and tahini sauce.
- You can find the recipe for the rice wrap and tahini sauce at GlutenFreeCooking123.com
Notes
Disclosure: Some of the links in this post are “affiliate links”. This means if you click on a link and purchase the item, I will get an affiliate commission. It will not cost you any extra money, but it will help me pay for this website, and it will help me to keep providing you with helpful articles such as this one. I only post links to products that I personally use and love, or to products that I wish I could have, and that could be of value to you. The information that I provide you with, my blog, videos, and many resources are free.

Be the first to reply